12 Tips for Planting Bulbs in Pots and Containers
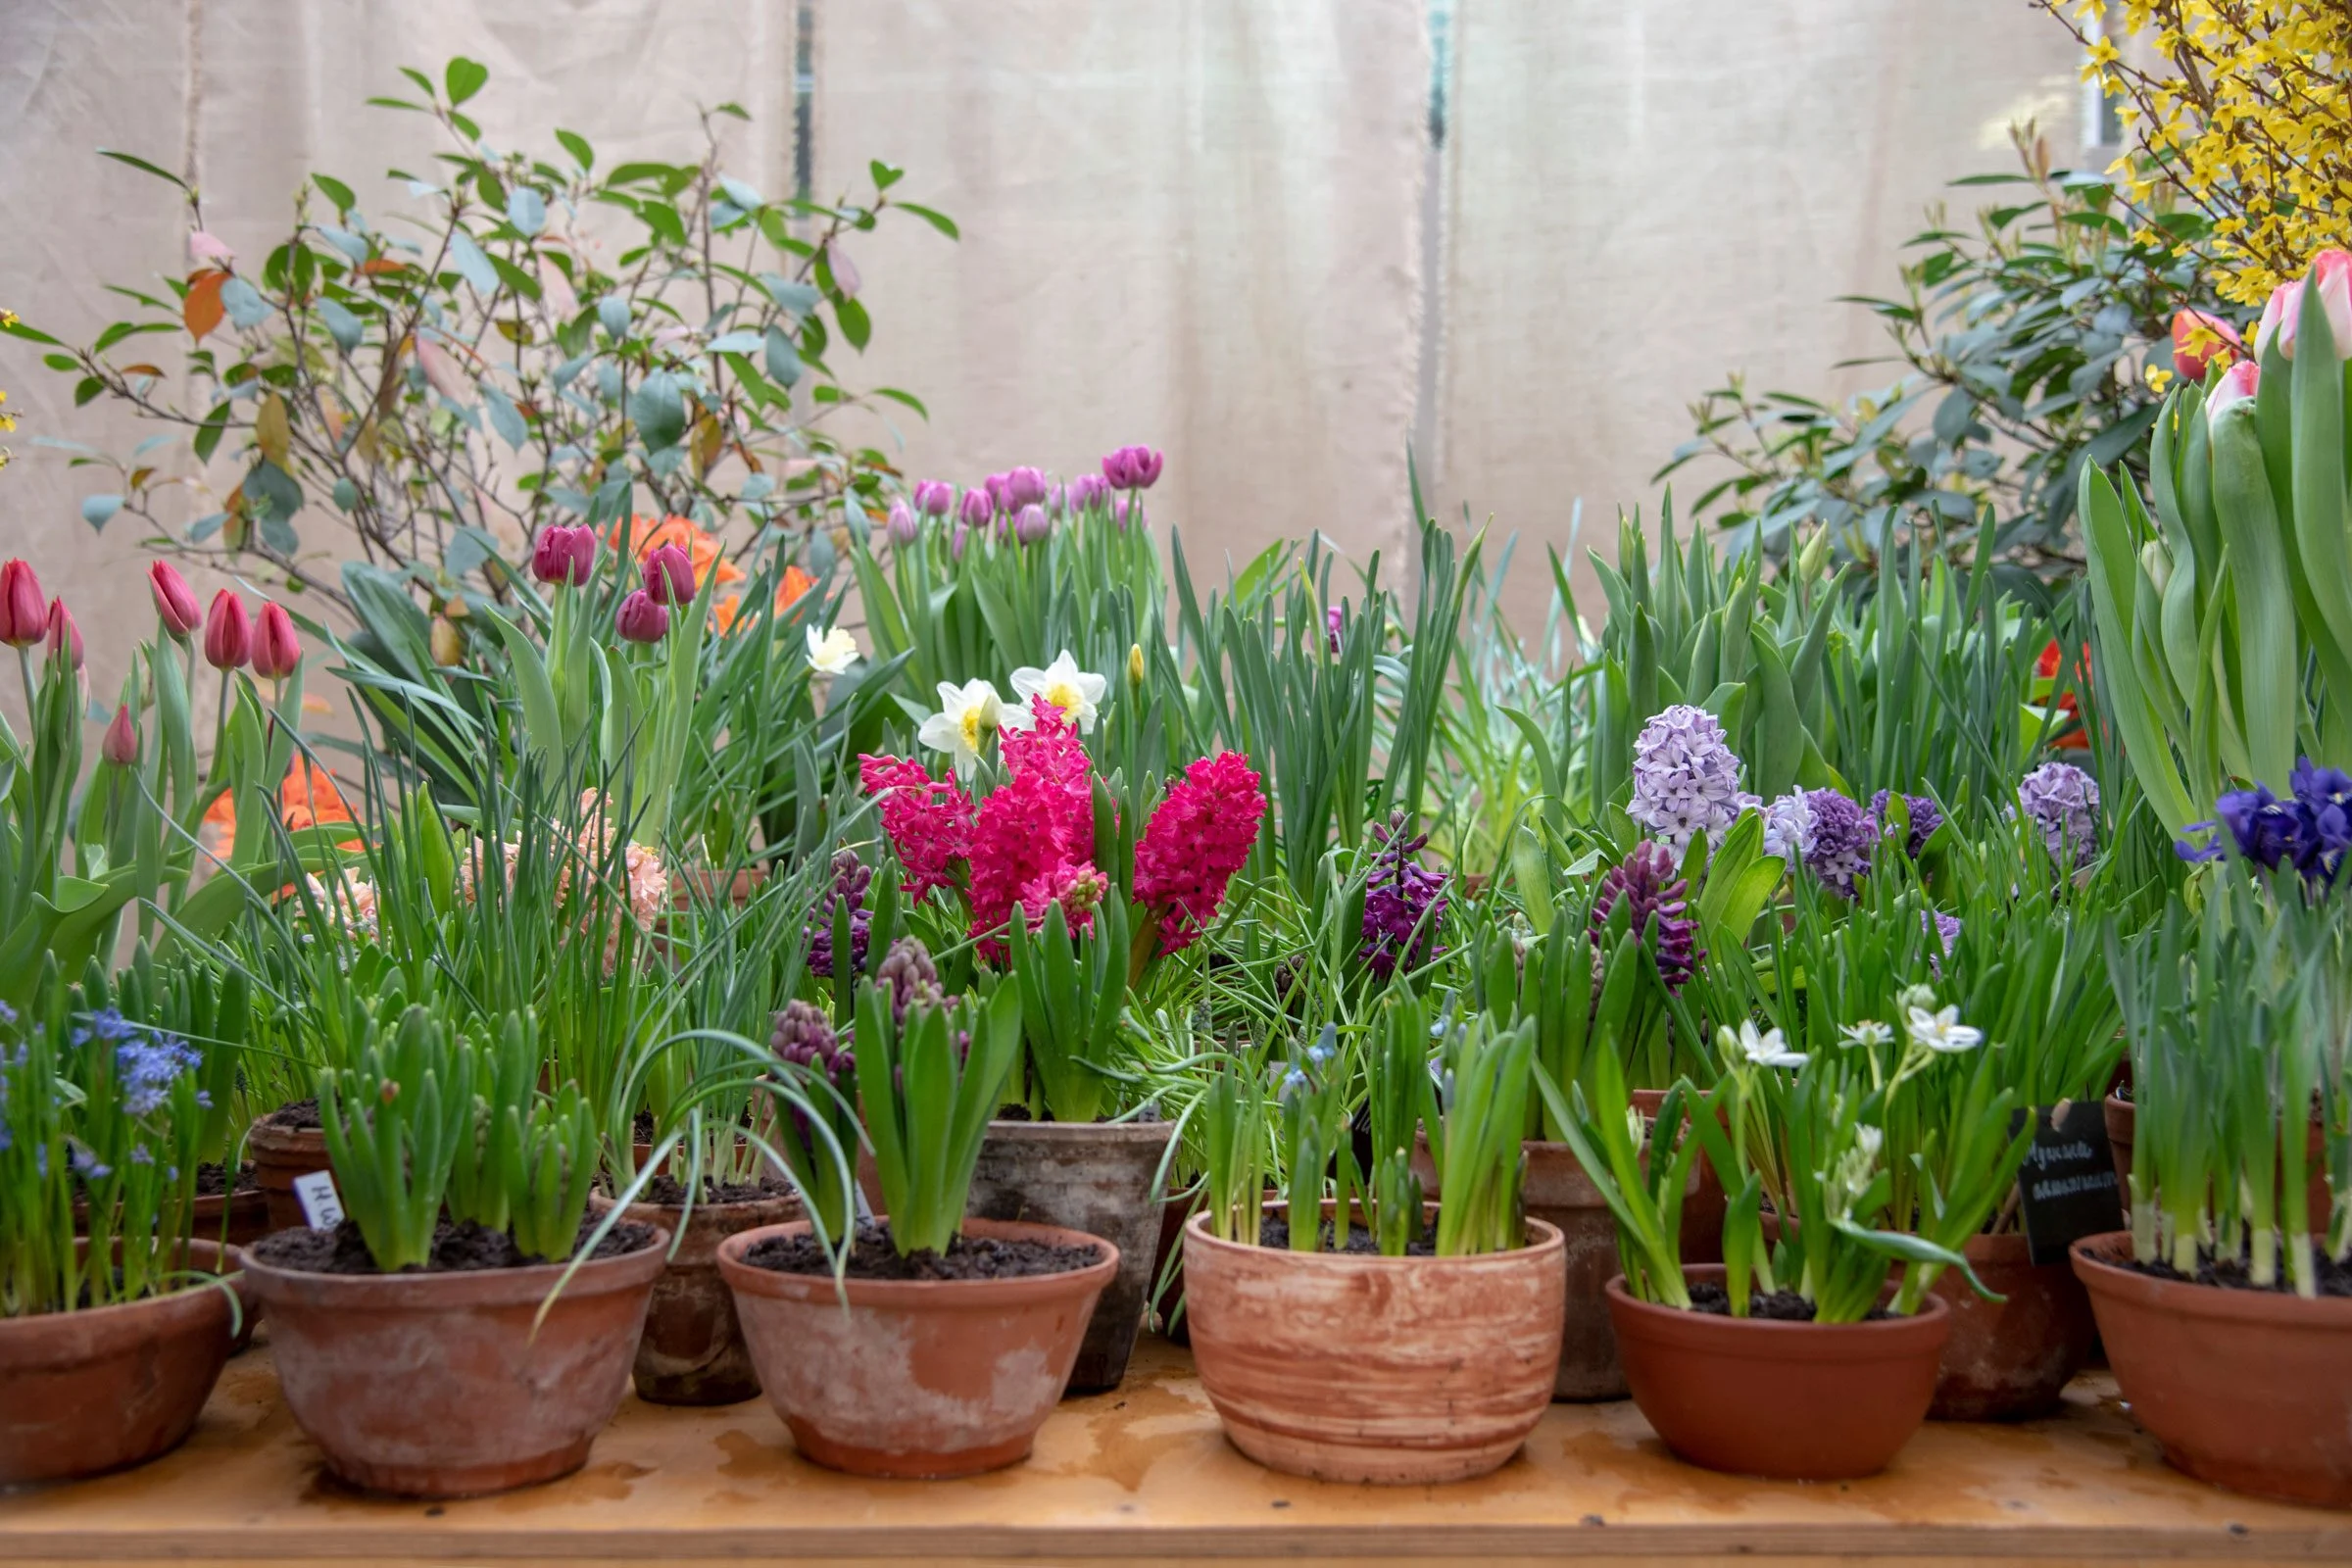
Table of Contents
Are you looking to add colour and life to your outdoor living space? Planting bulbs in pots is a simple and satisfying way to bring vibrant flowers to your patio, balcony, or garden. Not only do potted bulbs add beauty and fragrance to your surroundings, but they also offer the flexibility to move them around as needed.
But before you start planting, following proper techniques to ensure successful growth and flowering is essential. From choosing the right pot and soil to appropriate watering and fertilizing, there are a few critical tips to remember.
In this article, we’ll share 12 tips on planting bulbs in pots to help you create a stunning display of flowers that will brighten up your outdoor space. Whether you’re an experienced gardener or a novice, these tips will help you achieve a thriving and beautiful display of potted bulbs.
12 Tips on How to Plant Bulbs in Pots
Ready to plant bulbs in pots? Follow these 12 tips to enhance your outdoor living space in no time.
Tip 1: Choosing the Right Pot
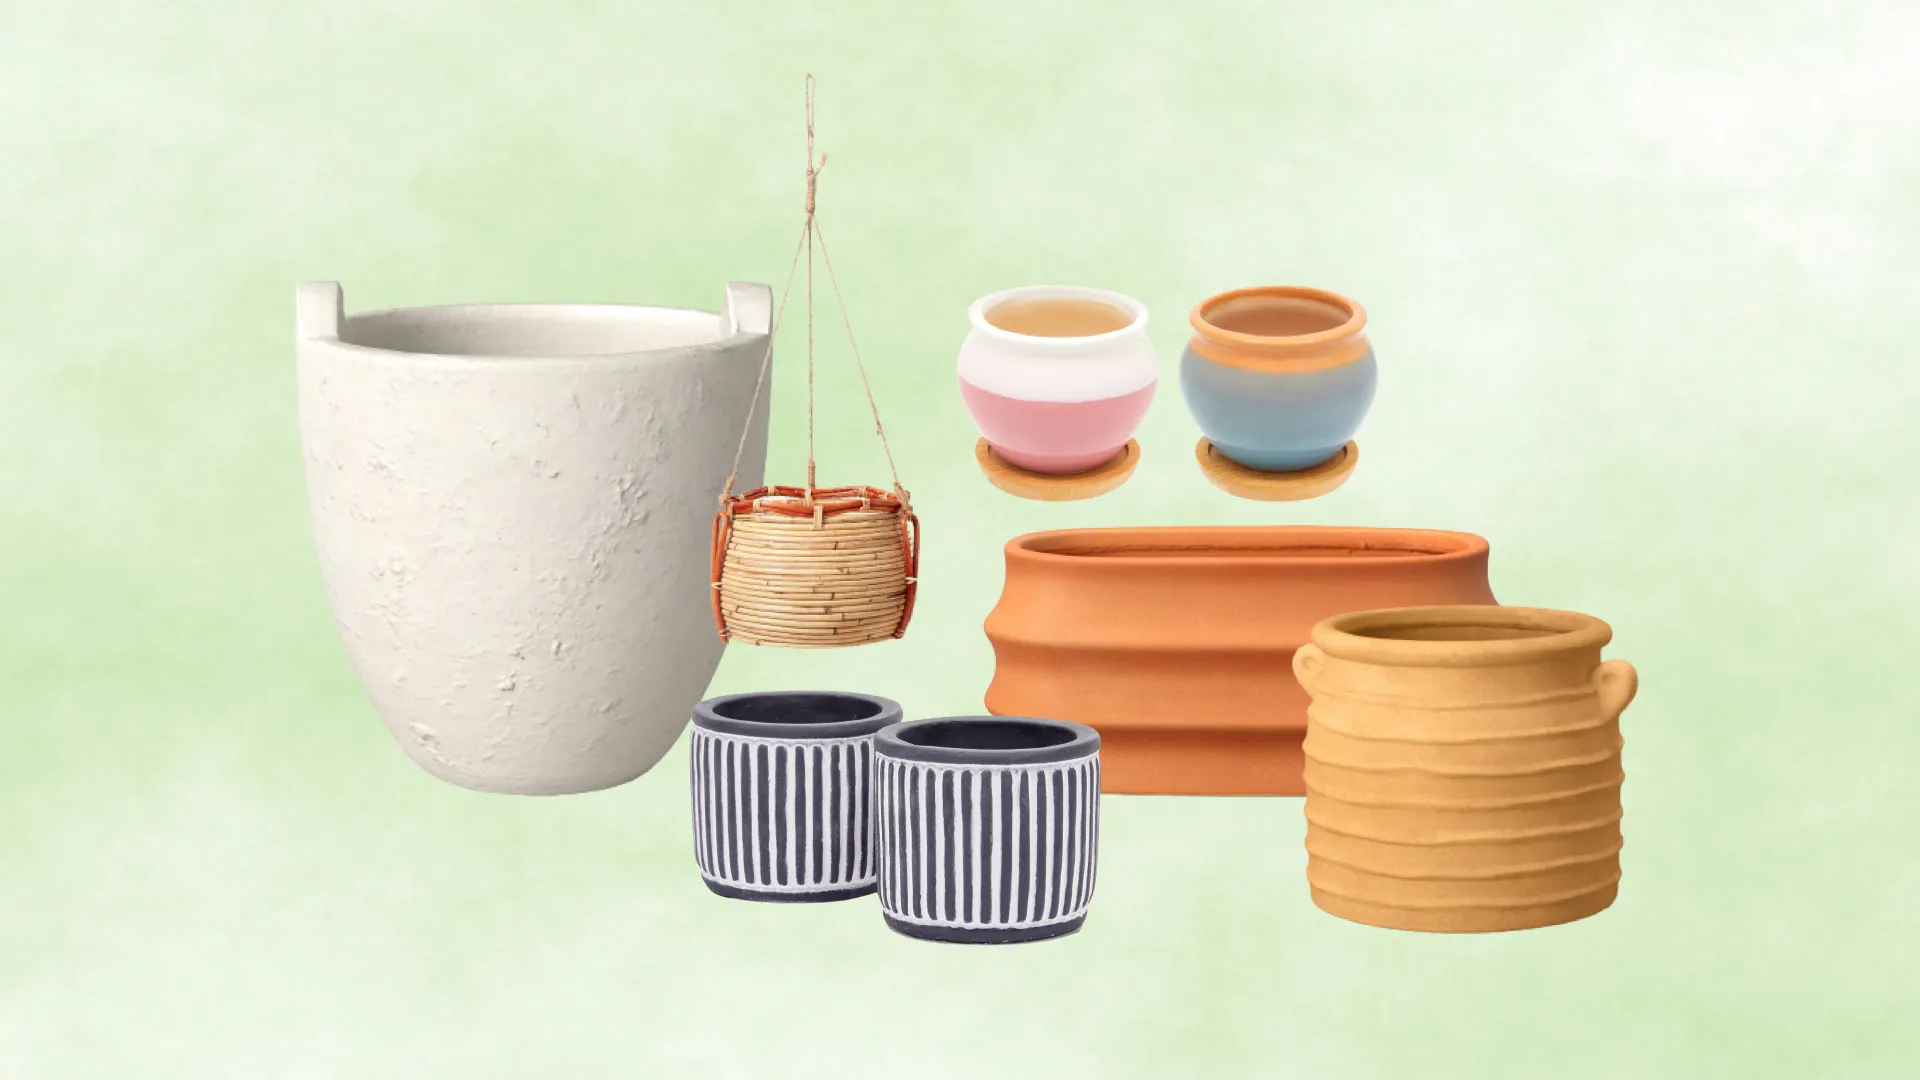
A few critical criteria should be considered while selecting a pot for planting bulbs. The first consideration is size: ensure the pool is deep enough to hold the bulbs you intend to plant and any other soil or compost required. The bottom should also include drainage holes to allow excess water to drain and prevent soggy soil, which can lead to rotten roots. Finally, assess the pot’s substance.

- 🌼【Self Watering Plant Pots】 STURME The saucers at the bottom of the plastic plant pots is...
- 🌼【Creative Watering Lip Designs】Removable watering lip design allows you to water in two ways...
- 🌼【6 Plant Pots in Different Sizes】 These White plant pots for indoor plants combined with 6...
Plastic is lightweight and inexpensive but may not last as long and is prone to shattering under high temperatures. Terracotta is a traditional porous material providing adequate ventilation, although it can be heavy and prone to drying out quickly. Metal pots are robust and fashionable but can carry heat and become too hot for some bulbs. Weigh the benefits and drawbacks of each option and select the pot that best meets the needs of your bulbs.
Tip 2: Preparing the Soil
Preparing the soil is essential for planting bulbs in pots, as it can significantly affect their growth and blooming. Choosing well-draining ground is crucial to prevent water from accumulating and causing bulb rot.
A high-quality potting mix with perlite or vermiculite for improved drainage is an excellent option. Alternatively, you can make your soil mixture by combining equal parts peat moss, perlite, and compost. Peat moss helps retain moisture, while perlite and compost aid drainage and nutrient absorption.
Mix the soil components thoroughly before adding them to the pot, leaving a few inches at the top. Before planting, ensure the soil is moist but not soggy. Water thoroughly after planting to settle the soil and activate the bulbs. Properly preparing the ground can give your bulbs the necessary nutrients and growing conditions to thrive and produce stunning blooms all season.
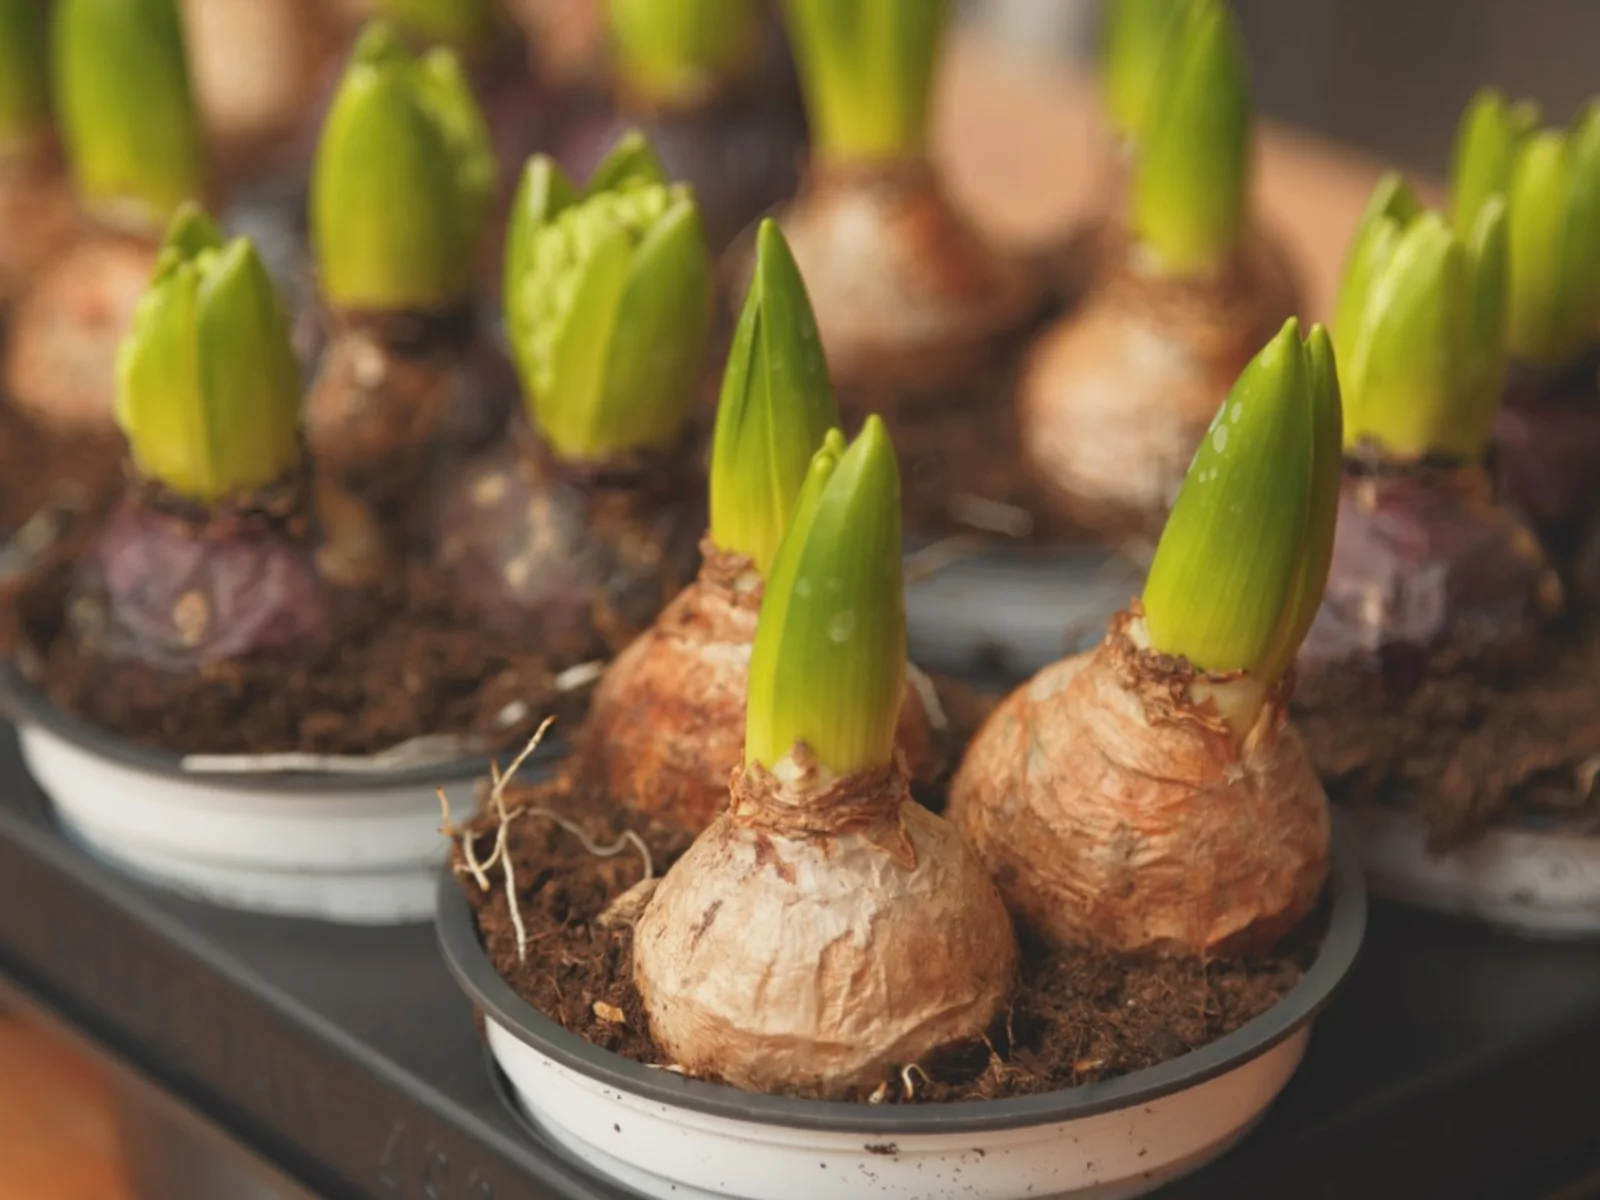
Tip 3: Timing and Selection of Bulbs

The success of your potted bulbs depends on the timing of planting and bulb selection.
For example, planting spring bulbs in the fall before winter arrives allows them to develop roots, while summer bulbs are best planted in the spring when the soil has warmed up.
Choosing the right size and quantity of bulbs for your pot is crucial, with a general rule of one to two bulbs per quart of soil. Selecting bulbs with varying bloom times can also ensure a continuous display of blossoms throughout the season. With these tips, you can enjoy a beautiful pot garden filled with blooming bulbs throughout the year.
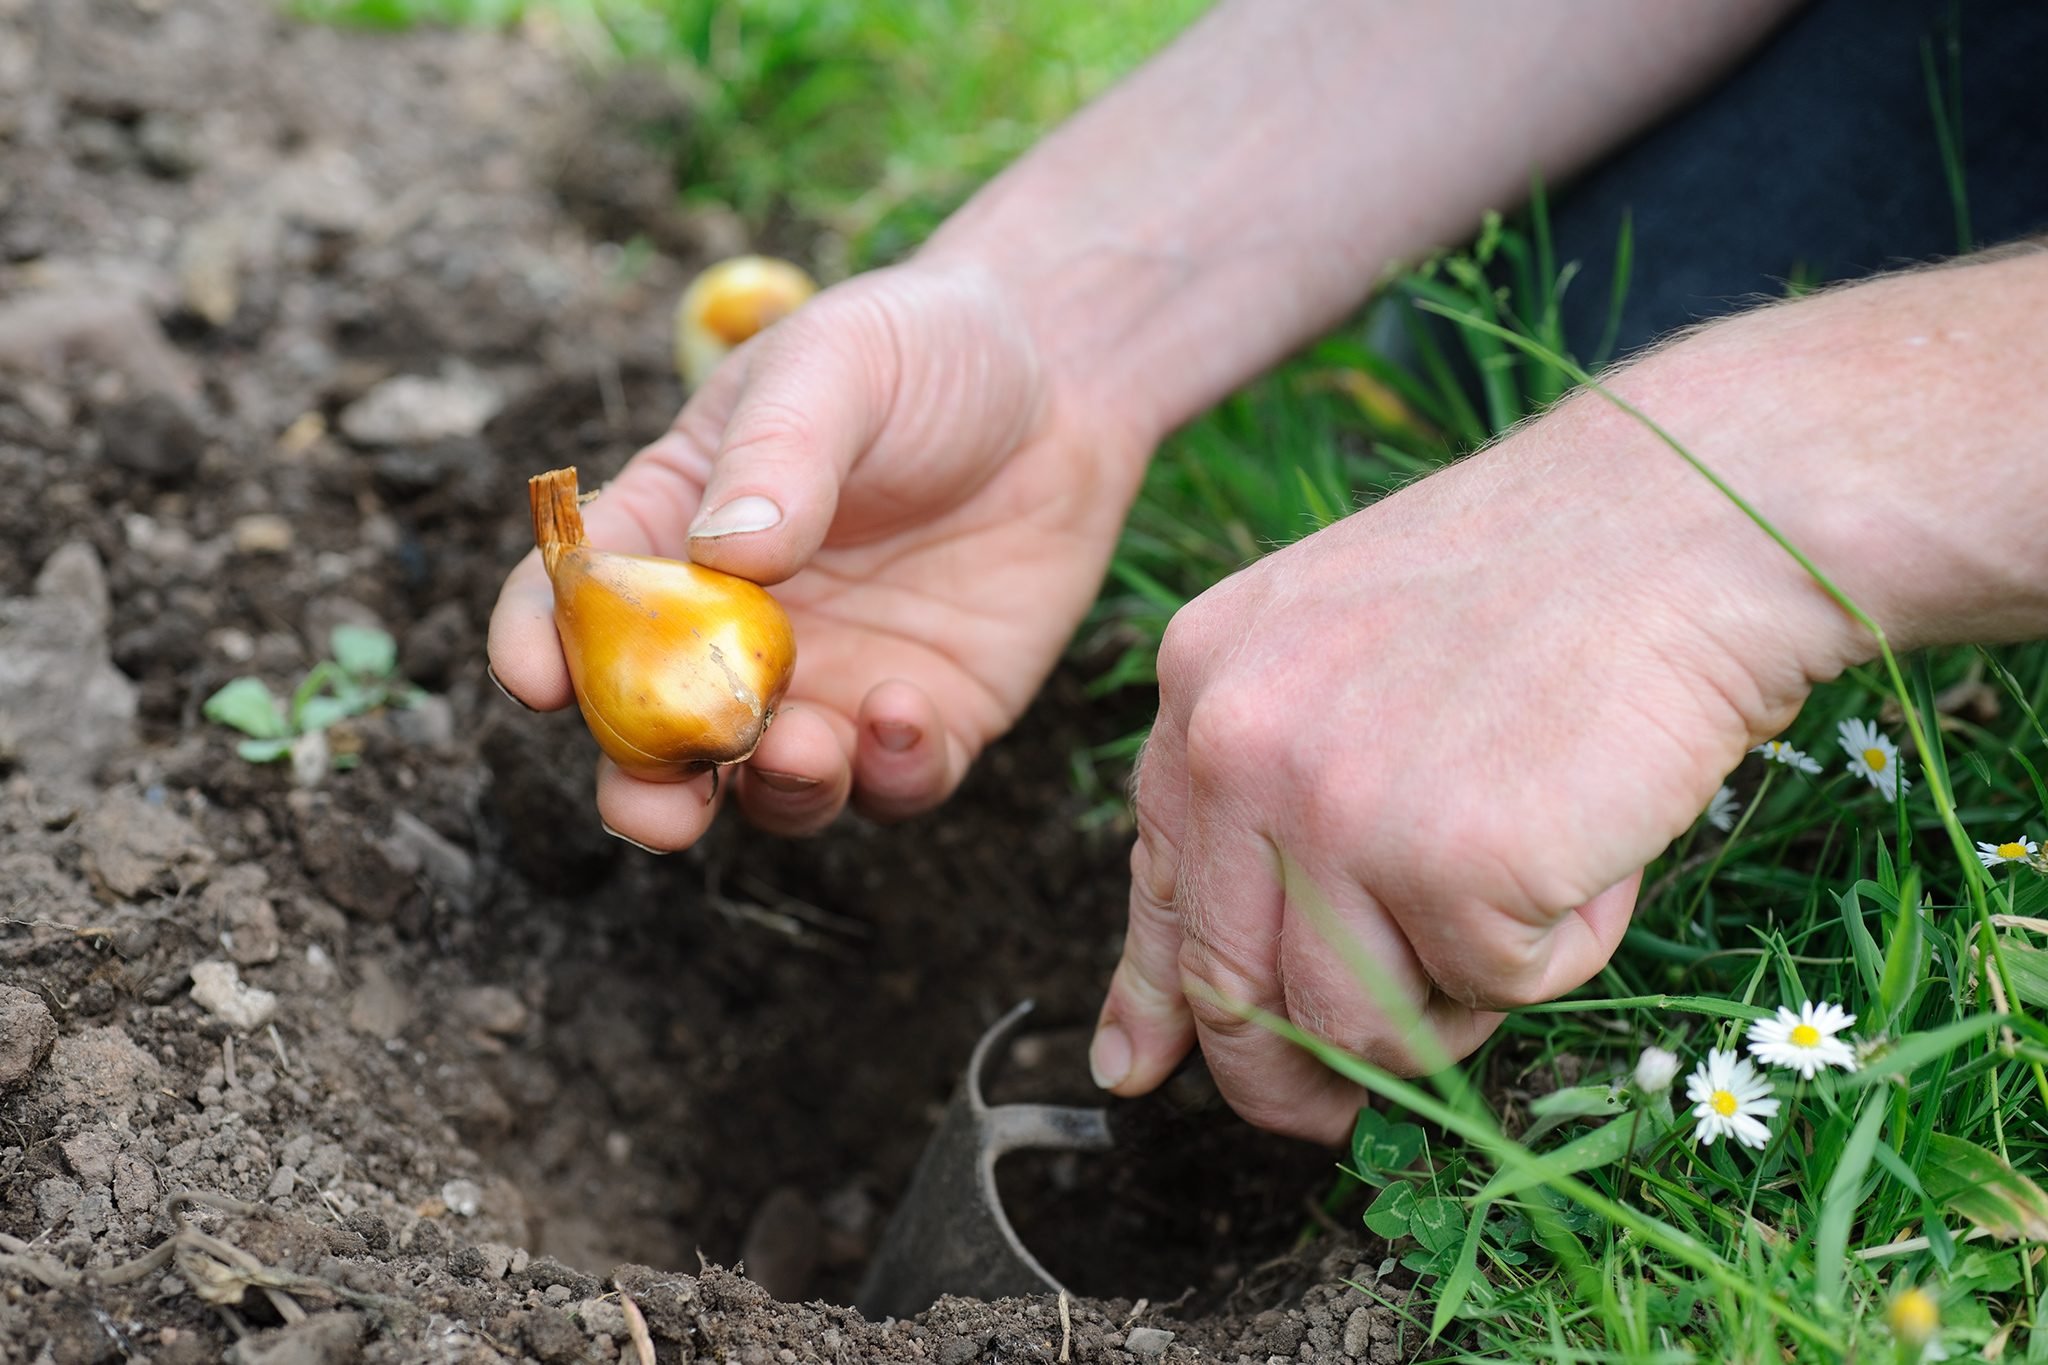
Tip 4: Planting Depth and Spacing
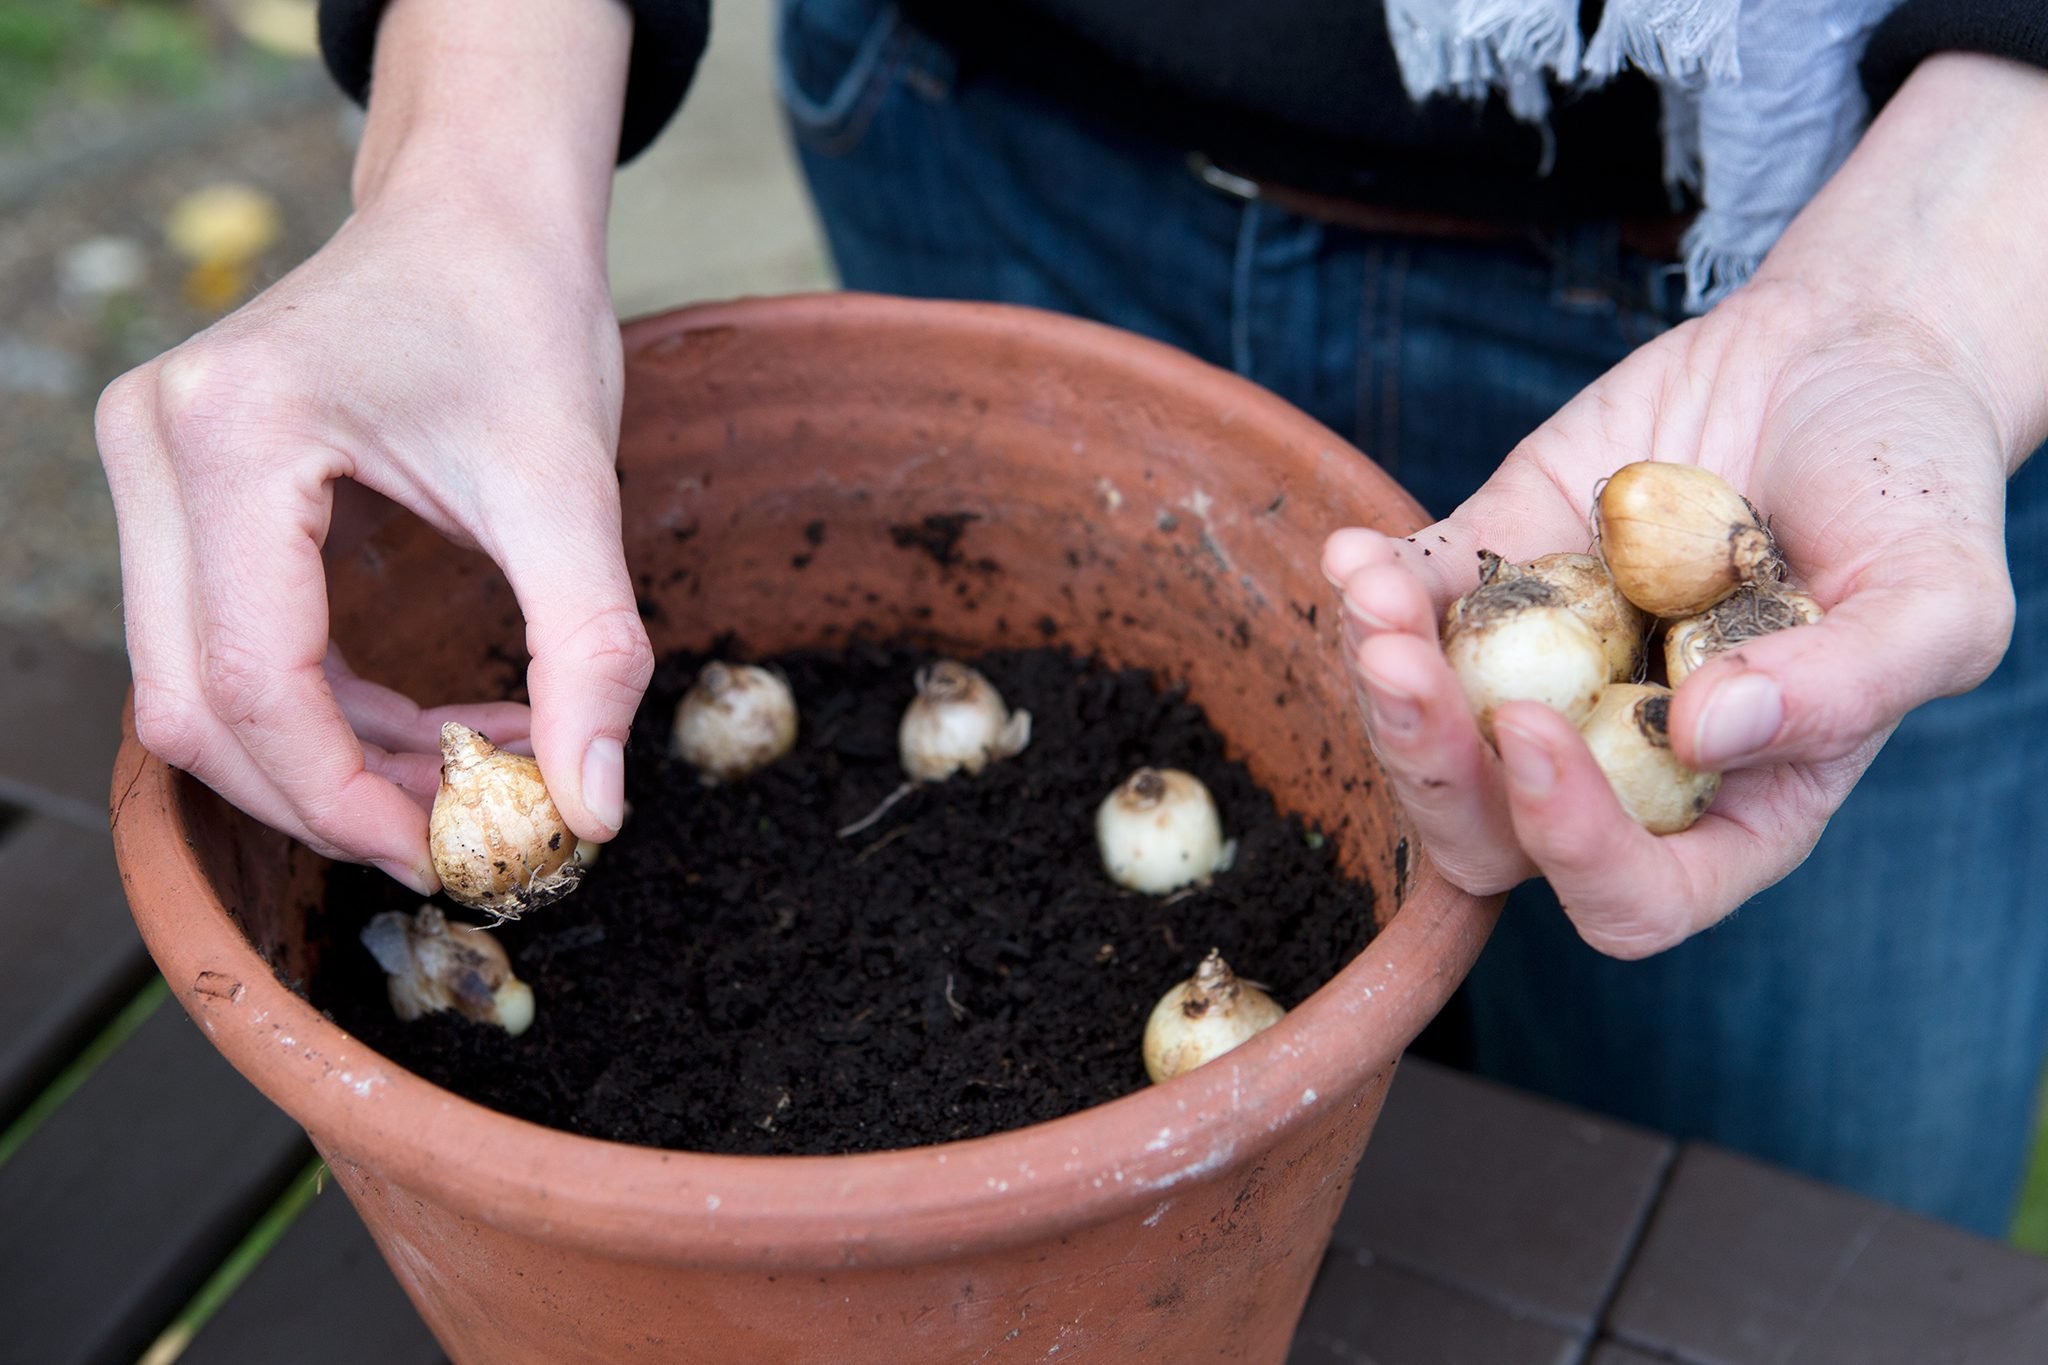
When learning how to plant bulbs in pots, it’s critical to understand proper planting depth and spacing. Planting bulbs too shallow or deep can cause them to die or decay.
The usual thumb rule is to put bulbs three times their height deep. So, for example, if you have a two-inch-tall bulb, you should plant it six inches deep. In addition to planting depth, bulbs require enough space to grow and produce roots, making spacing equally important—plant bulbs are twice their width apart as a basic rule of thumb.
For example, if you have a two-inch-wide bulb, space it four inches apart from the other bulbs. Following these planting depth and spacing guidelines will give your bulbs the best chance to thrive in their pot environment.
Tip 5: Watering Techniques
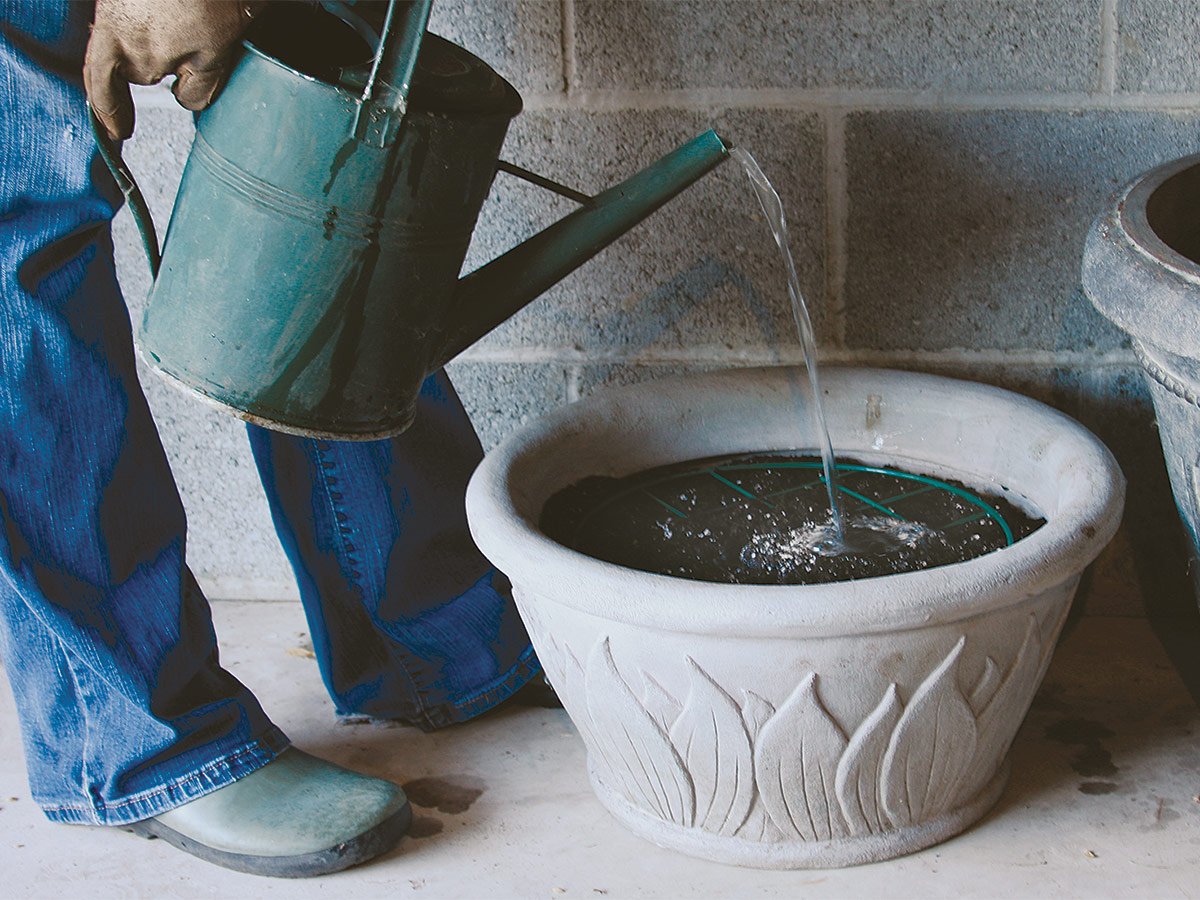
Watering is crucial for successful bulb growth in pots, and finding the right balance is critical. This step shows if you know how to plant bulbs in pots. Overwatering can lead to root rot, while underwatering can cause bulbs to be dry and die. Ensure your pot has adequate drainage holes to prevent water pooling, and thoroughly water the bulbs after planting.

- ✔High-Quality Material: Made from high-quality plastic, carrying capacity is strong, it is super...
- ✔Long Spout Design: Long spout watering can sprinkler bar design complete with detachable...
- ✔Stylish Design: This watering can for the garden with a detachable sprinkler comes with a firm...
Allow the soil to dry out before watering again, and adjust the frequency of watering based on pot size, soil type, and climate. For example, watering the bulbs may require more water during hot weather. Additionally, you can use a spray bottle to keep the soil moist and add humidity during dry seasons. Proper watering techniques can help your bulbs thrive in their pots.
Tip 6: Fertilizing
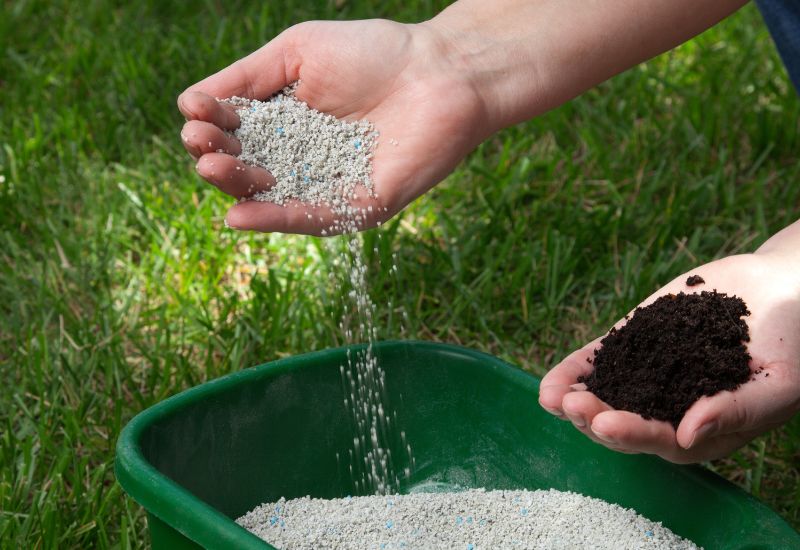
This next tip on how to plant bulbs in pots is about fertilizer. When choosing a fertilizer for your potted bulbs, it’s essential to consider the nutrient balance and application frequency. A balanced fertilizer with equal nitrogen, phosphorus, and potassium can promote healthy foliage and blooms. Still, some bulbs may require a different nutrient balance, such as a higher phosphorus content for root development.

- A Controlled Slow Release Fertiliser, Incredibloom is the best Plant Food available for your Garden...
- A perfect balance of plant food nutrients, this amazing Fertiliser will boost your Hanging Garden...
- A Garden Fertiliser that you can rely on to give you the best performance in your Garden Beds and...
Before planting, mix the fertilizer into the soil to ensure the bulbs can access the nutrients they need from the start. Avoid overdoing fertilizer when applying it, as excess nutrients can damage or kill your bulbs. As a general rule, apply fertilizer at planting and again as the shoots emerge from the soil. Potted bulbs can thrive and produce beautiful blooms with the right fertilizer and proper planting techniques.
Tip 7: Mulching
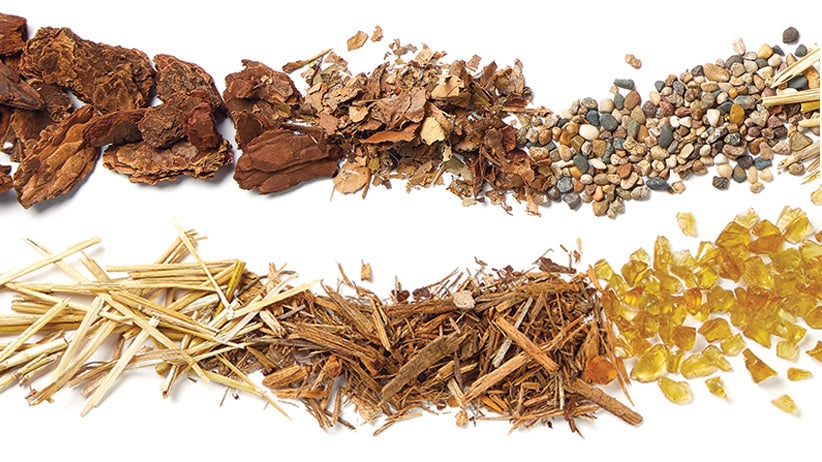
Mulching is an efficient approach to encourage healthy growth and blooming in potted bulbs. In addition, it aids in the regulation of soil temperature, the retention of moisture, and the suppression of weeds.
When choosing mulch for pot-planted bulbs, consider a material that will not retain excessive moisture or compact over time, such as bark chips or shredded leaves. After planting the bulbs, spread a thin layer of mulch over the soil surface, taking care not to cover the developing stems.
This will protect the bulbs from extreme temperature swings and prevent moisture loss from the soil. Remember to renew the mulch layer regularly throughout the growing season to keep it practical.
Tip 8: Winter Care
Winter can be challenging for potted bulbs, particularly in colder areas. Frost, freezing temperatures, and other winter risks can harm or kill bulbs if not appropriately tended to.
Therefore, taking a few basic precautions during the colder months is vital to ensure your bulbs survive the winter and bloom again in the spring. Moving your pots to a sheltered location, such as a garage or covered patio, is critical.
This will protect them from the weather and keep them warm. Wrapping the pots in burlap or bubble wrap, or placing them inside larger pots, can also help insulate them.
Finally, covering your bulbs with mulch or straw will protect them from frost and freezing temperatures, insulate the soil, and prevent them from freezing. Following these simple instructions ensures that your bulbs survive the winter and emerge healthy and vivid in the spring.
Tip 9: Spring Care
Caring for your potted bulbs is critical to promote healthy development and blooming as the weather warms.
Spring bulb care includes removing mulch and dead foliage to allow for new growth. It is also essential to maintain regular watering and fertilizing techniques and to watch for any signs of pests or disease.
In addition, now is an excellent time to inspect the bulbs for symptoms of overcrowding and, if required, replant them in larger pots. These precautions will ensure your potted bulbs survive throughout the spring and beyond.
Tip 10: Dealing with Pests and Diseases
Pests and diseases may be a significant source of anxiety for any gardener, and bulb growing in pots is no exception. This step tells that you know how to plant bulbs in pots.
Aphids, spider mites, and slugs are some of the most common pests that attack pot bulbs, while grey mould and bulb rot are prevalent illnesses. It is critical to detect these problems early to avoid catastrophic damage to your bulbs.
You can take various precautions to reduce the risk of insect and disease infestation. One of the most effective is to plant bulbs in well-draining soil and to avoid overwatering.
You can also use natural pest repellents like neem oil, insecticidal soap, or fungicides to prevent fungal illnesses. If your bulbs become infected, you have numerous treatment choices.
Removing and discarding infected foliage can assist in limiting disease spread, but in more challenging situations, a pesticide or fungicide may be required. When using any commercial product, always follow the manufacturer’s directions.
Tip 11: Dividing and Transplanting Bulbs
As bulbs mature, they may get overcrowded in their pots, resulting in decreased growth and blooming. This is when bulb division and transplanting are required. This is usually done every few years or when the plants exhibit signs of overpopulation.
It is critical to divide bulbs carefully, ensuring that each bulb has enough roots and leaves to last. Separate the bulbs gently, not damaging any roots or leaves. If you’re moving the bulbs to a new pot, make sure it’s big enough to fit them and give them room to grow.
Transplanting bulbs is also possible after they have finished blooming and have gone dormant. Because the bulbs are not actively growing, this is the perfect time to divide or transfer them. Once transplanted, give the bulbs enough water and care to continue their growth and blooming.
Tip 12: Using Bulbs in Garden Design
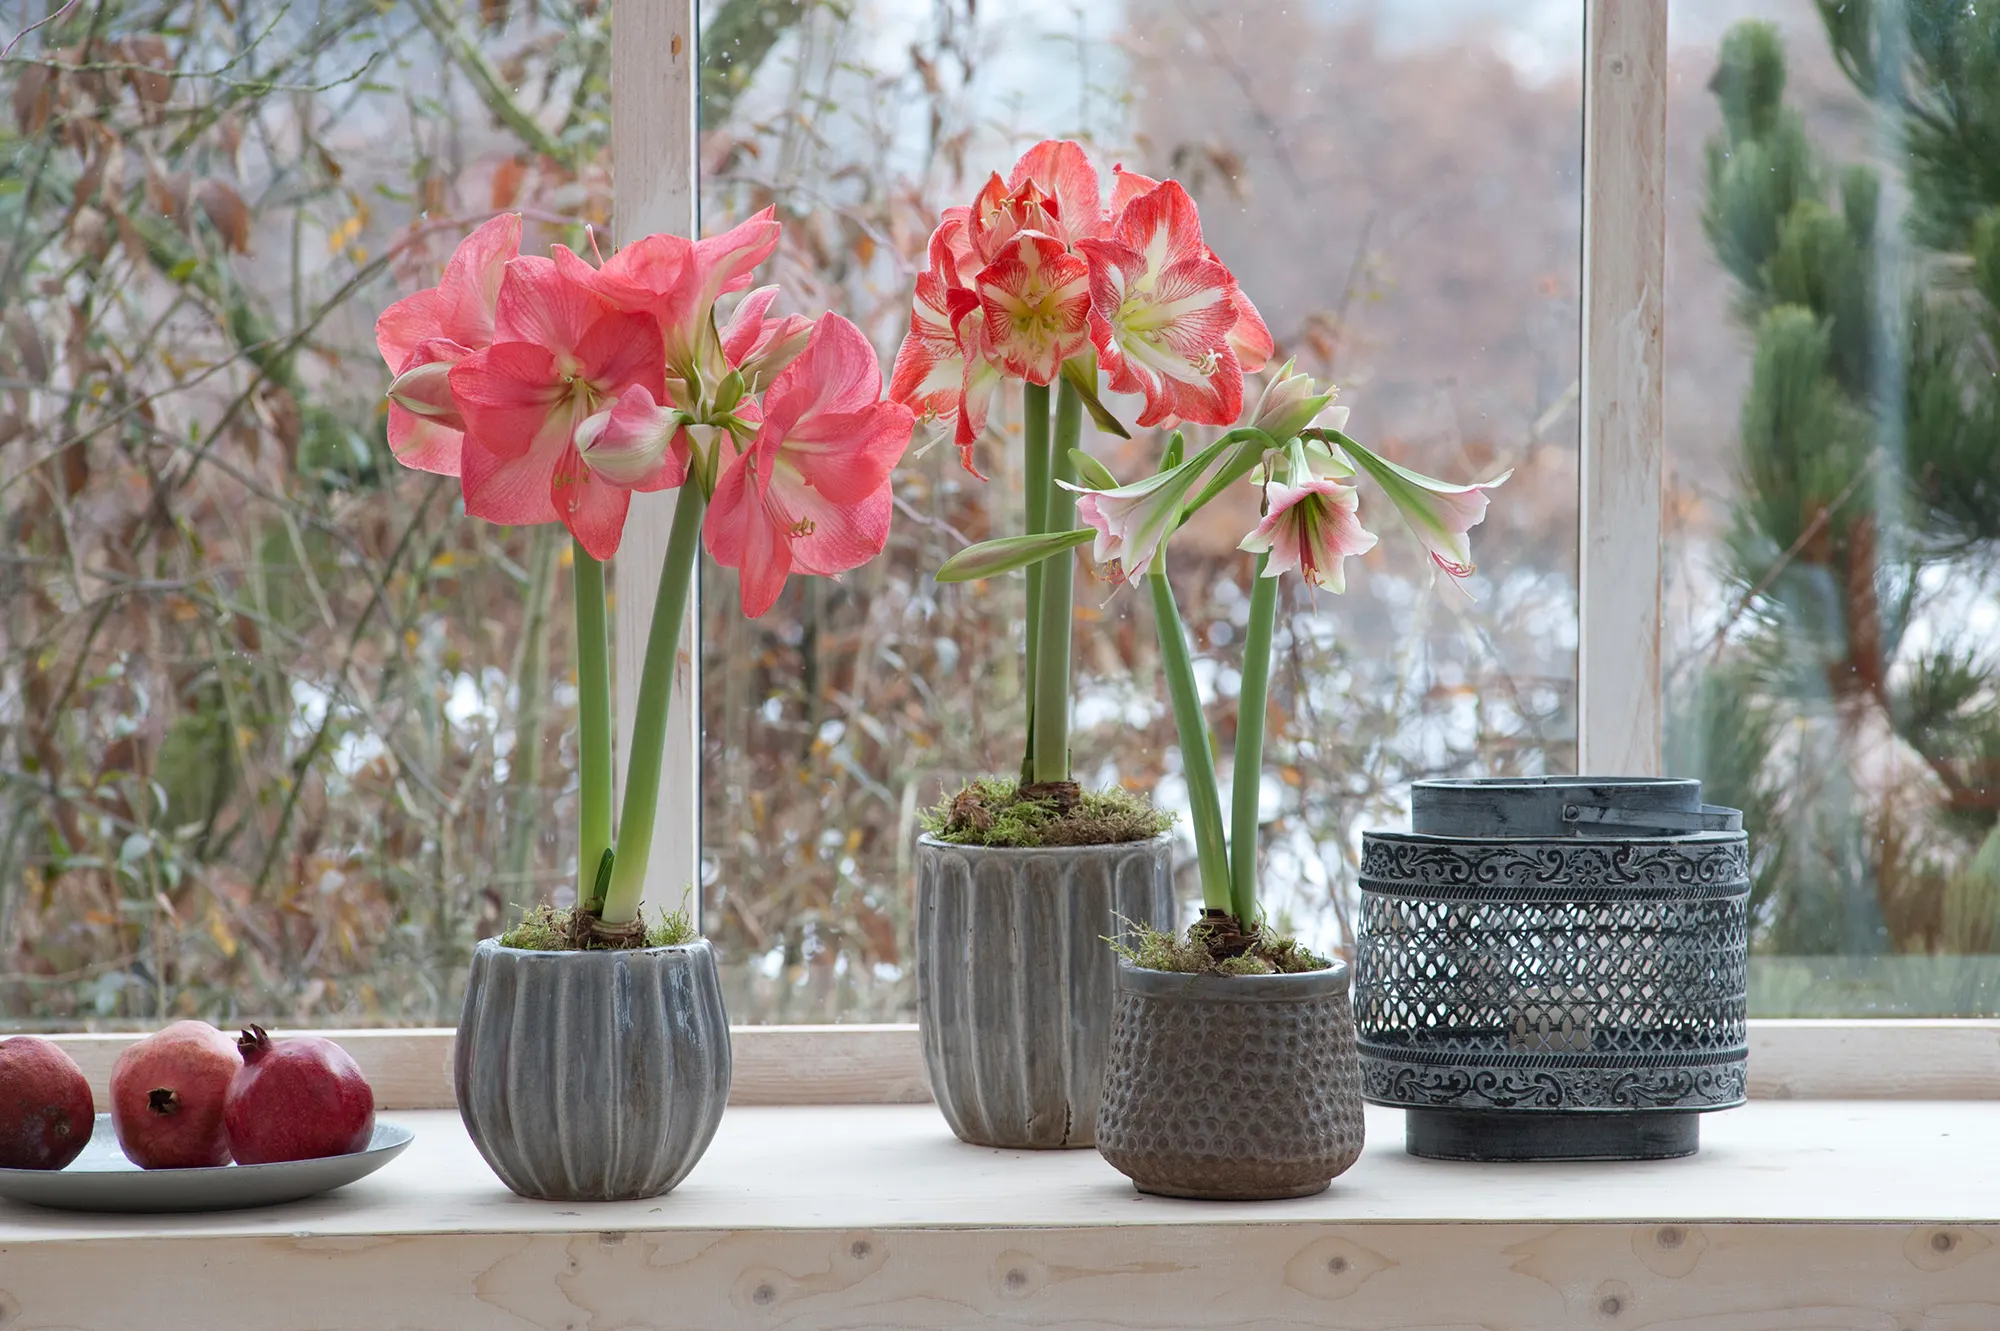
Bulbs in pots can brighten patios and balconies and add colour and interest to garden spaces. In this final tip, we’ll explore creative ways to incorporate potted bulbs into garden design.
One option is to group pots of different sizes and heights for a dynamic display. You can also use bulbs to create a focal point in your garden by placing a large pot filled with colourful bulbs in a prominent location. Try planting bulbs in clusters at the base of trees or garden beds for a more natural look.
Bulbs can also be used to create a themed garden, such as a bulb garden featuring a variety of bulb types or a colour-themed garden using bulbs in a specific shade. Using bulbs in pots strategically throughout your garden can add seasonal interest and colour while enhancing the overall design.
Planting Bulbs in Pots Made Easy
In conclusion, planting bulbs in pots can be a fun and rewarding gardening activity. Following the tips outlined in this article, you can ensure your potted bulbs’ successful growth and blooming.
Remember to select the right pot size and soil mix, plant bulbs at the correct depth and spacing, water and fertilize them properly, and protect them from winter frost and spring pests. With a little bit of care and attention, you can enjoy beautiful blooms in your pot garden year after year.
So why not give it a try? Experiment with different bulbs, colours, and designs to create your unique potted garden.
Now that you know how to plant bulbs in pots, you can impress your friends and family with your gardening skills and enjoy the beauty of nature right in your backyard.
Alternatively, if you like the idea of starting your vegetable patch journey but don’t know where to begin, use these growing guides to grow your knowledge and support your crops.