10 Simple Steps to Level Your Sloping Garden
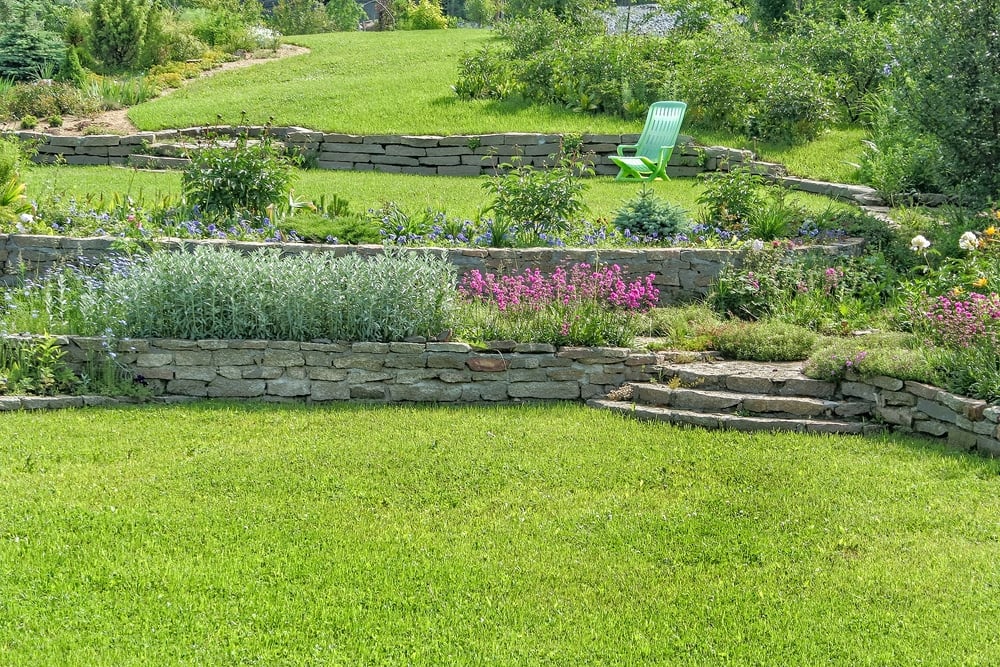
Table of Contents
Having a sloping garden can be a beautiful feature of any landscape, but it can also be a challenge when it comes to maintaining it. A sloping garden can make it difficult to mow the lawn or plant flowers. Furthermore, if the slope is too steep, it can be dangerous, leading to soil erosion and water runoff, damaging your property and nearby areas. That’s why it is essential to know how to level a garden properly.
Levelling a sloping garden can be a daunting task, but we have curated a 10-simple stage method to do it with ease. These steps include evaluating the slope, gathering the required tools, marking boundaries, removing vegetation, excavating the area, adding soil, checking the level, building retaining walls, preparing for the new plantation, and maintaining it further.
By following these steps, you can level your garden effectively and create a functional and attractive outdoor space.
Stage 1: Evaluating the Slope
The first stage in levelling a sloping garden is to evaluate the slope. This step is crucial to ensure that the garden is levelled correctly and will provide an even surface for planting and other landscaping activities. The assessment of the slope is important because it determines the amount of work that needs to be done and the methods that will be used to level the garden. Measuring the slope is done by using a tool such as a level or a laser level.
Assessing the slope is essential for determining the best approach to levelling the garden. If the slope is gentle, it may be possible to level the garden by adding soil to the lower areas. However, if the slope is steep, terracing may be necessary to create level areas.
Stage 2: Gathering Materials and Tools
The second stage in levelling a sloping garden is gathering the necessary materials and tools for the project. This step is critical to ensure that the project proceeds smoothly and efficiently. Materials that are usually required during the levelling process are topsoil or compost, gravel or crushed stone, landscape fabric, timber, stone, or concrete blocks for retaining walls, seeds, plants, and sod.
Without the essential tools, you cannot think about levelling your sloping garden. So, here is a list of tools that are required during this process.
- Shovel or spade
- Wheelbarrow
- Compactor
- Level
- Tape measure
- Hammer
- Chisel
- Saw
- Safety gear
By gathering these materials and tools before starting the project, you can save time and effort and make sure that the project proceeds smoothly. Proper planning and preparation are essential to achieve a successful outcome in levelling a sloping garden.
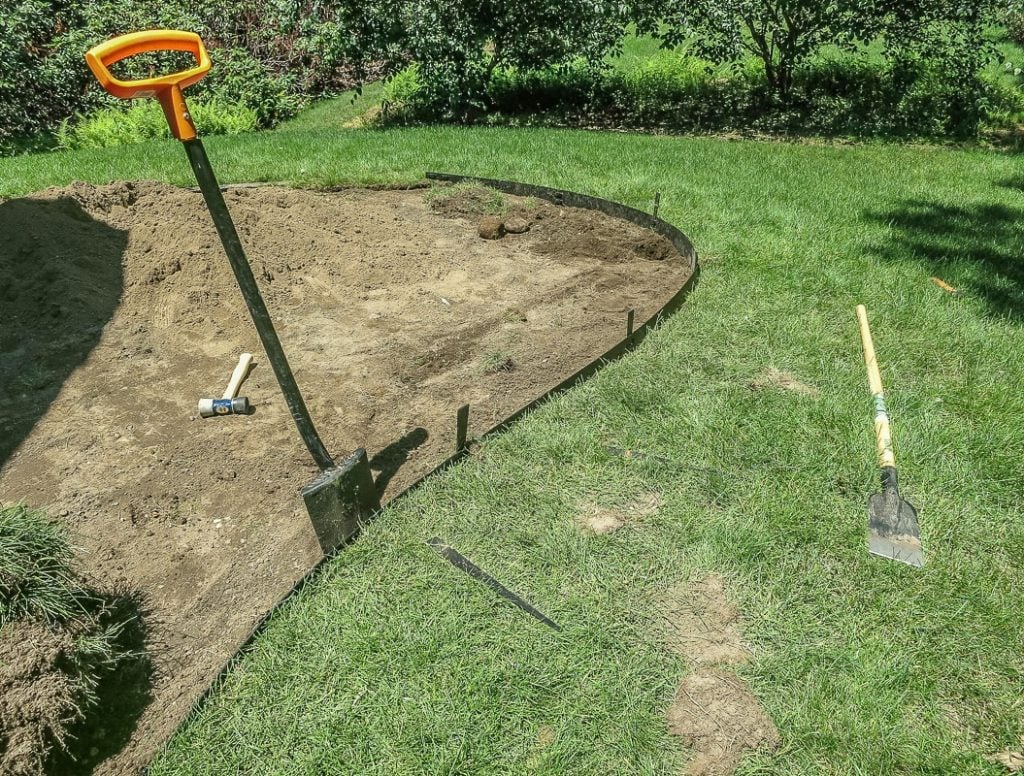
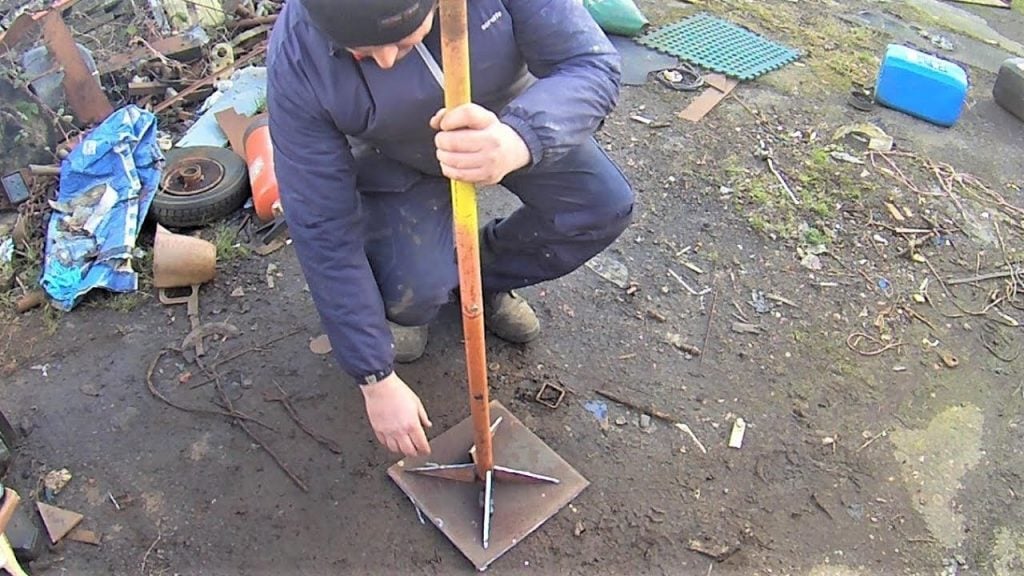
Stage 3: Marking the Boundaries
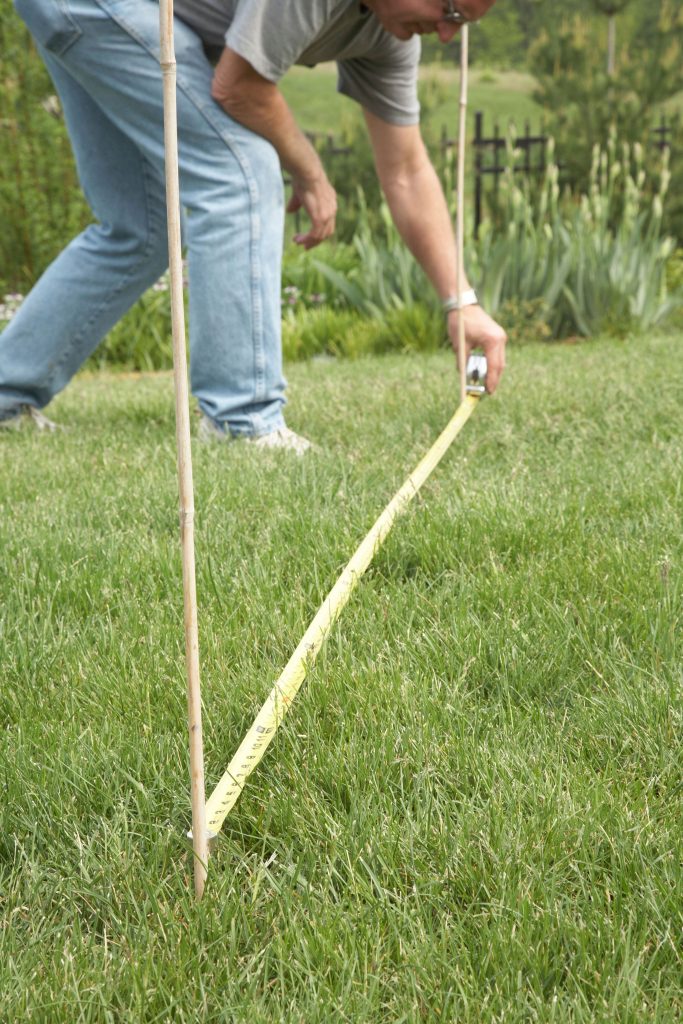
The third stage in levelling a sloping garden is marking out the boundaries of the area to be levelled. This step is important because it helps to ensure how much area is to be levelled and also helps to maintain the beauty of the garden by creating a well-defined and organised space. Some useful tips to mark boundaries accurately are listed below.
- Use a tape to determine the exact points which require boundaries.
- Use stakes or flags to mark these points or corners of the boundaries.
- Double-check the measurements and make sure that the boundaries are marked correctly.
Taking time to ensure that the boundaries are correctly marked will help to ensure that the project is successful and that the final result is a levelled and aesthetically pleasing garden.
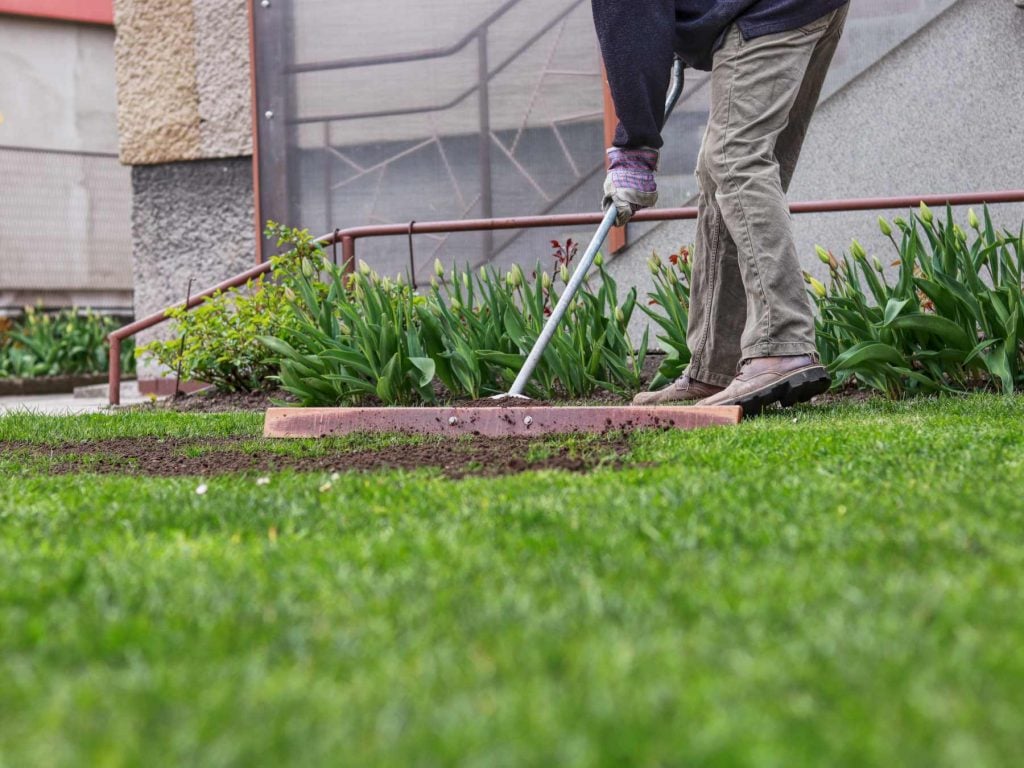
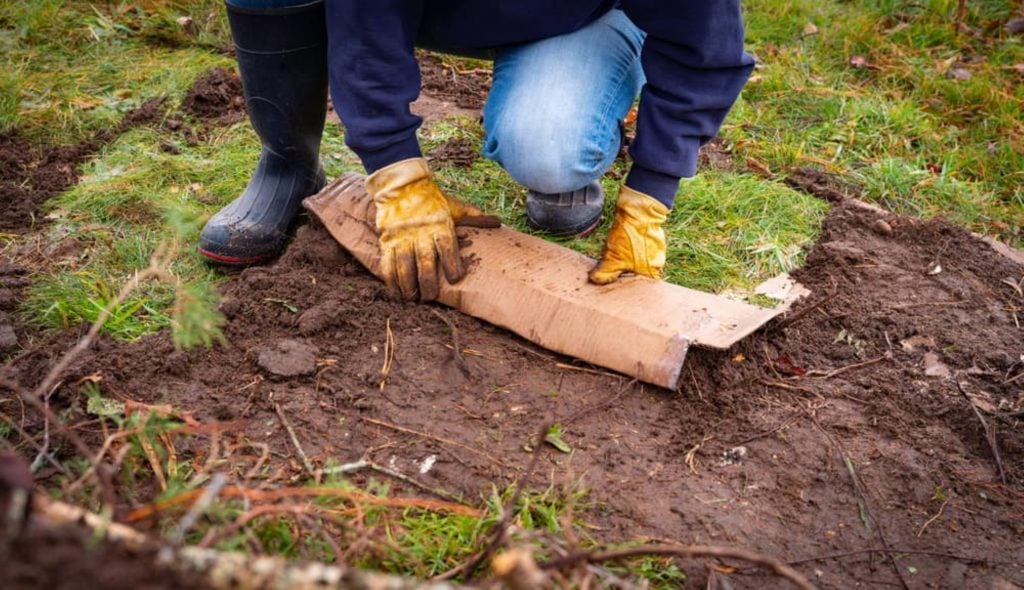
Stage 4: Removing Vegetation and Debris
The fourth stage is removing the existing vegetation and debris from the area to be levelled. This step is essential during the levelling process. You can use a shovel or spade to remove any grass, weeds, or other vegetation from the area. You must remove any rocks, stones, or debris that may interfere with the levelling process.
The wastes generated during the removal of debris need to be disposed of. You can use a compost pile to dispose of organic materials such as leaves, branches, and grass clippings. While disposing of waste, you need to take safety precautions like wearing gloves and boots. Also, avoid overexertion and take small breaks to prevent exhaustion and injury. Proper disposal of wastes is essential to ensure environmental responsibility and compliance with regulations.
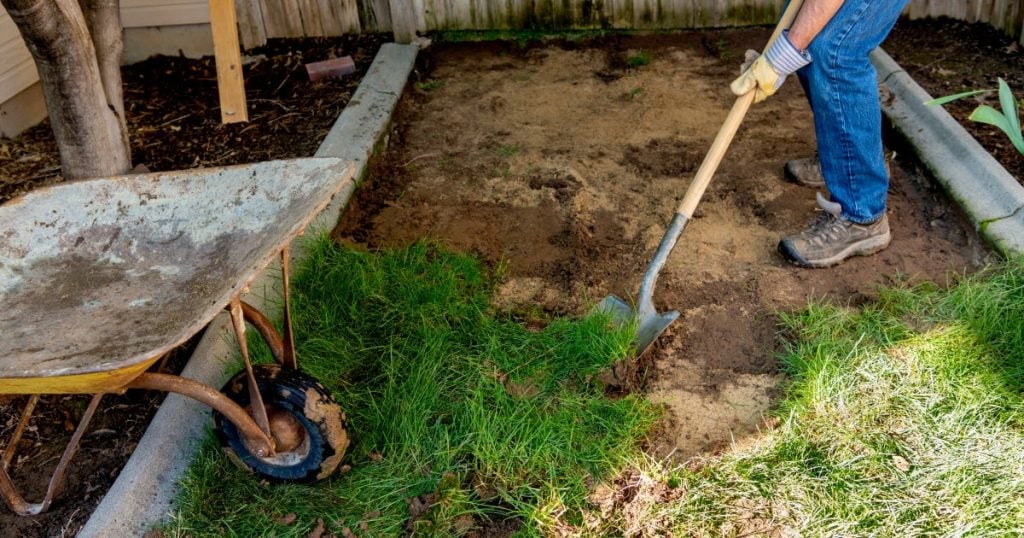
Stage 5: Excavating the Area
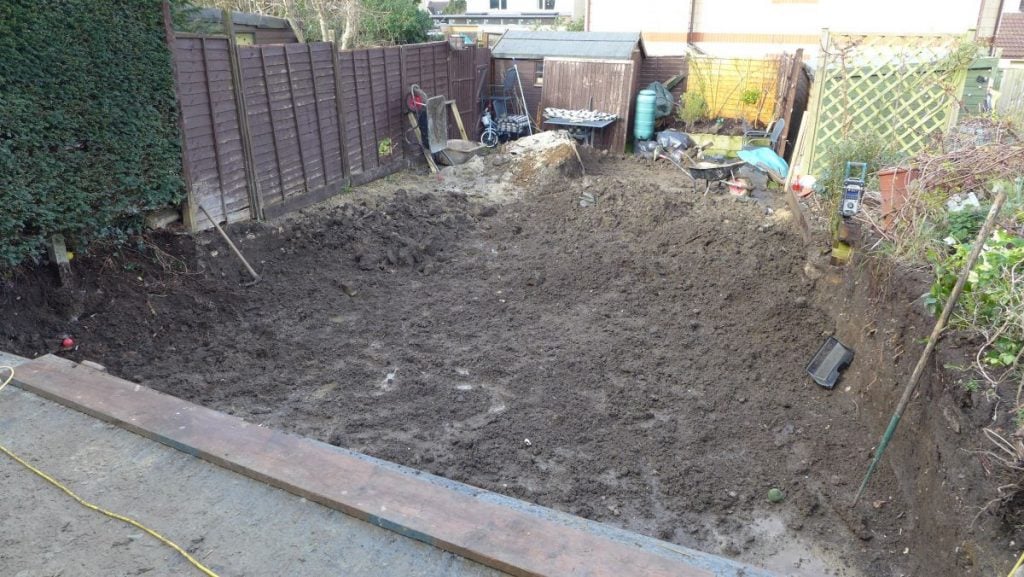
The fifth stage in levelling a garden is excavating the area to create a level surface. This step involves digging the soil to remove any high spots and fill any spots, resulting in a smooth and even surface. The process of excavating the area is given below.
- Use a shovel or excavator to remove soil from the high spots and deposit it into the low spots.
- Continue the process until the entire area is excavated and levelled.
- Check the level of the surface frequently to ensure that it is even and consistent.
During the excavation process, you must take necessary safety precautions, like wearing safety gear. The use of the right tools and equipment can make this process faster and more efficient, but safety should always be a top priority to avoid any accidents or injuries.
Stage 6: Adding Soil and Compost
The sixth stage in levelling is adding soil and compost to the area. This step involves adding a layer of topsoil and compost to the excavated area, which helps to improve soil quality, provide nutrients to plants, and promote their healthy growth. It also improves soil structure and texture, which promotes drainage and water retention.
Some tips on selecting the right soil and compost are listed below.
- Choose high-quality topsoil that is free of contaminants and has a balanced pH level.
- Look for compost that is well-aged and has a good balance of nitrogen, phosphorus, and potassium.
- Consider getting a soil test done to determine any nutrient deficiencies or imbalances that need to be addressed.
When adding soil and compost, it is essential to ensure that the layers are applied evenly and mixed thoroughly to create a consistent growing medium. This will ensure that plants have access to the nutrients they need to thrive.
Stage 7: Compacting and Checking the Level of Soil
The seventh stage in levelling a sloping garden is compacting the soil to create a stable surface. This step involves using a compactor or hand tamper to press down the soil to ensure that it is level and stable. Compacting the soil is important because it helps to create a stable surface that can support the weight of plants, people, and structures, prevents soil erosions, and creates a healthy growing environment for plants.
Some useful tips for compacting the soil effectively are listed below.
- Use a compactor or hand tamper to apply pressure evenly across the surface.
- Compact the soil in small sections to ensure that it is level and even.
- Check the level of the surface frequently to ensure that it is consistent.
In addition to compacting the soil, it is important to check the level of the surface regularly to ensure that it is even and consistent. This can be done using a level or laser level, and any low spots should be filled in and compacted again until the surface is level.
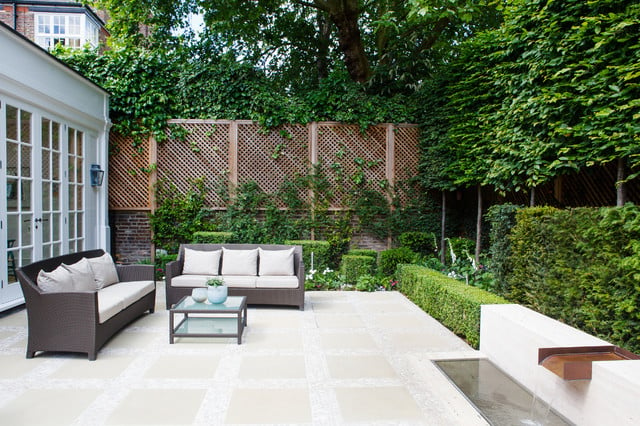
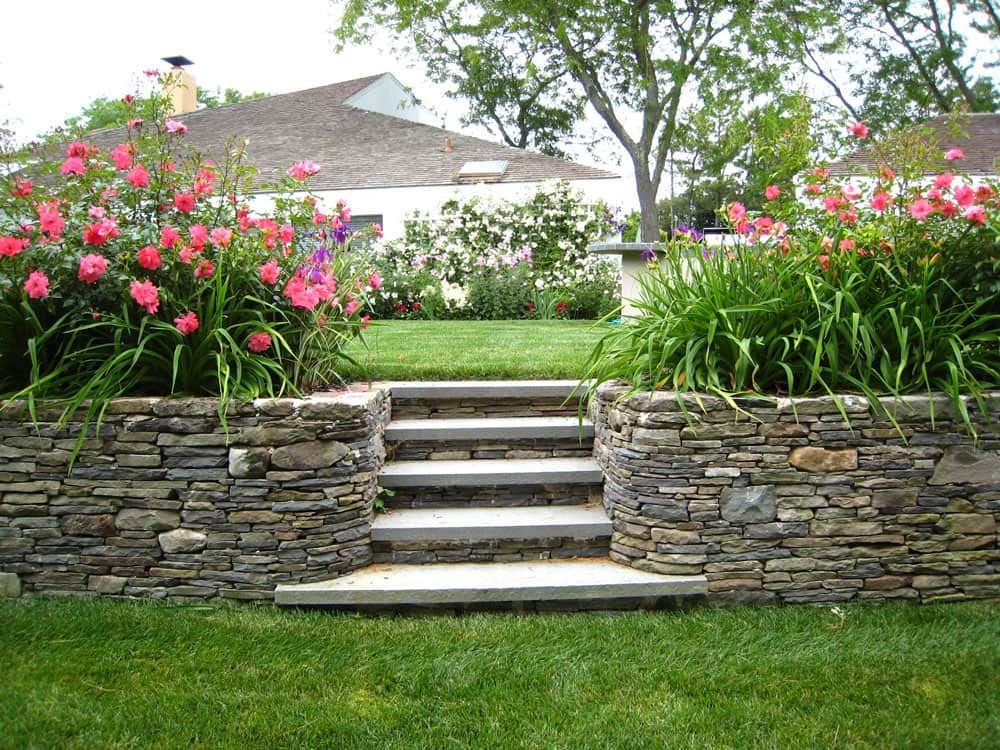
Stage 8: Installing Retaining Walls
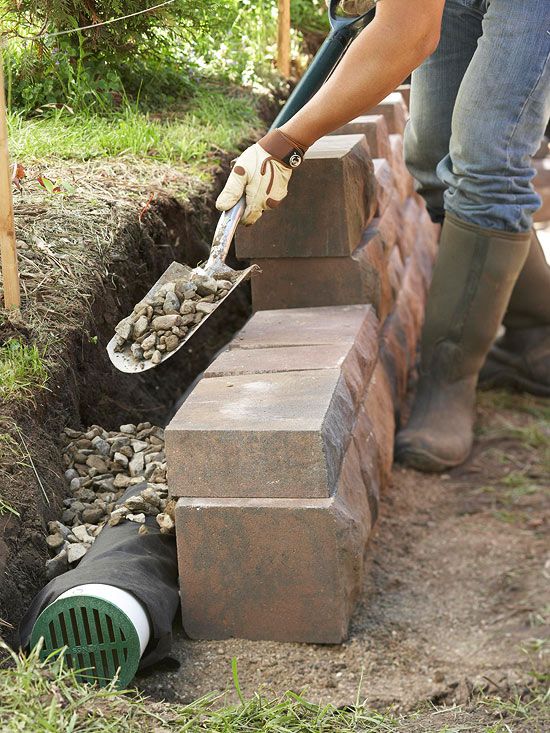
The eighth stage in levelling a sloping garden is installing retaining walls. Retaining walls are essential when levelling a garden because they help to hold back soil and prevent soil erosion. They provide stability and levelled surfaces for planting and other gardening activities and can also add visual interest and aesthetic appeal to your garden.
Tips for selecting the right materials and installing the walls are given below.
- Choose materials that are durable and suited to local climates, such as stone, timber, brick, or concrete blocks.
- Consider the height of the retaining wall and the weight it will need to support when selecting materials.
- Ensure that the retaining wall is installed on a solid base and backfilled with gravel or crushed stones for stability.
- Install drainage behind the retaining wall to prevent water buildup and ensure proper water flow.
- Hire a professional to install a retaining wall.
Properly installed retaining walls will provide stability and prevent erosion, creating a safe and functional environment for your garden.
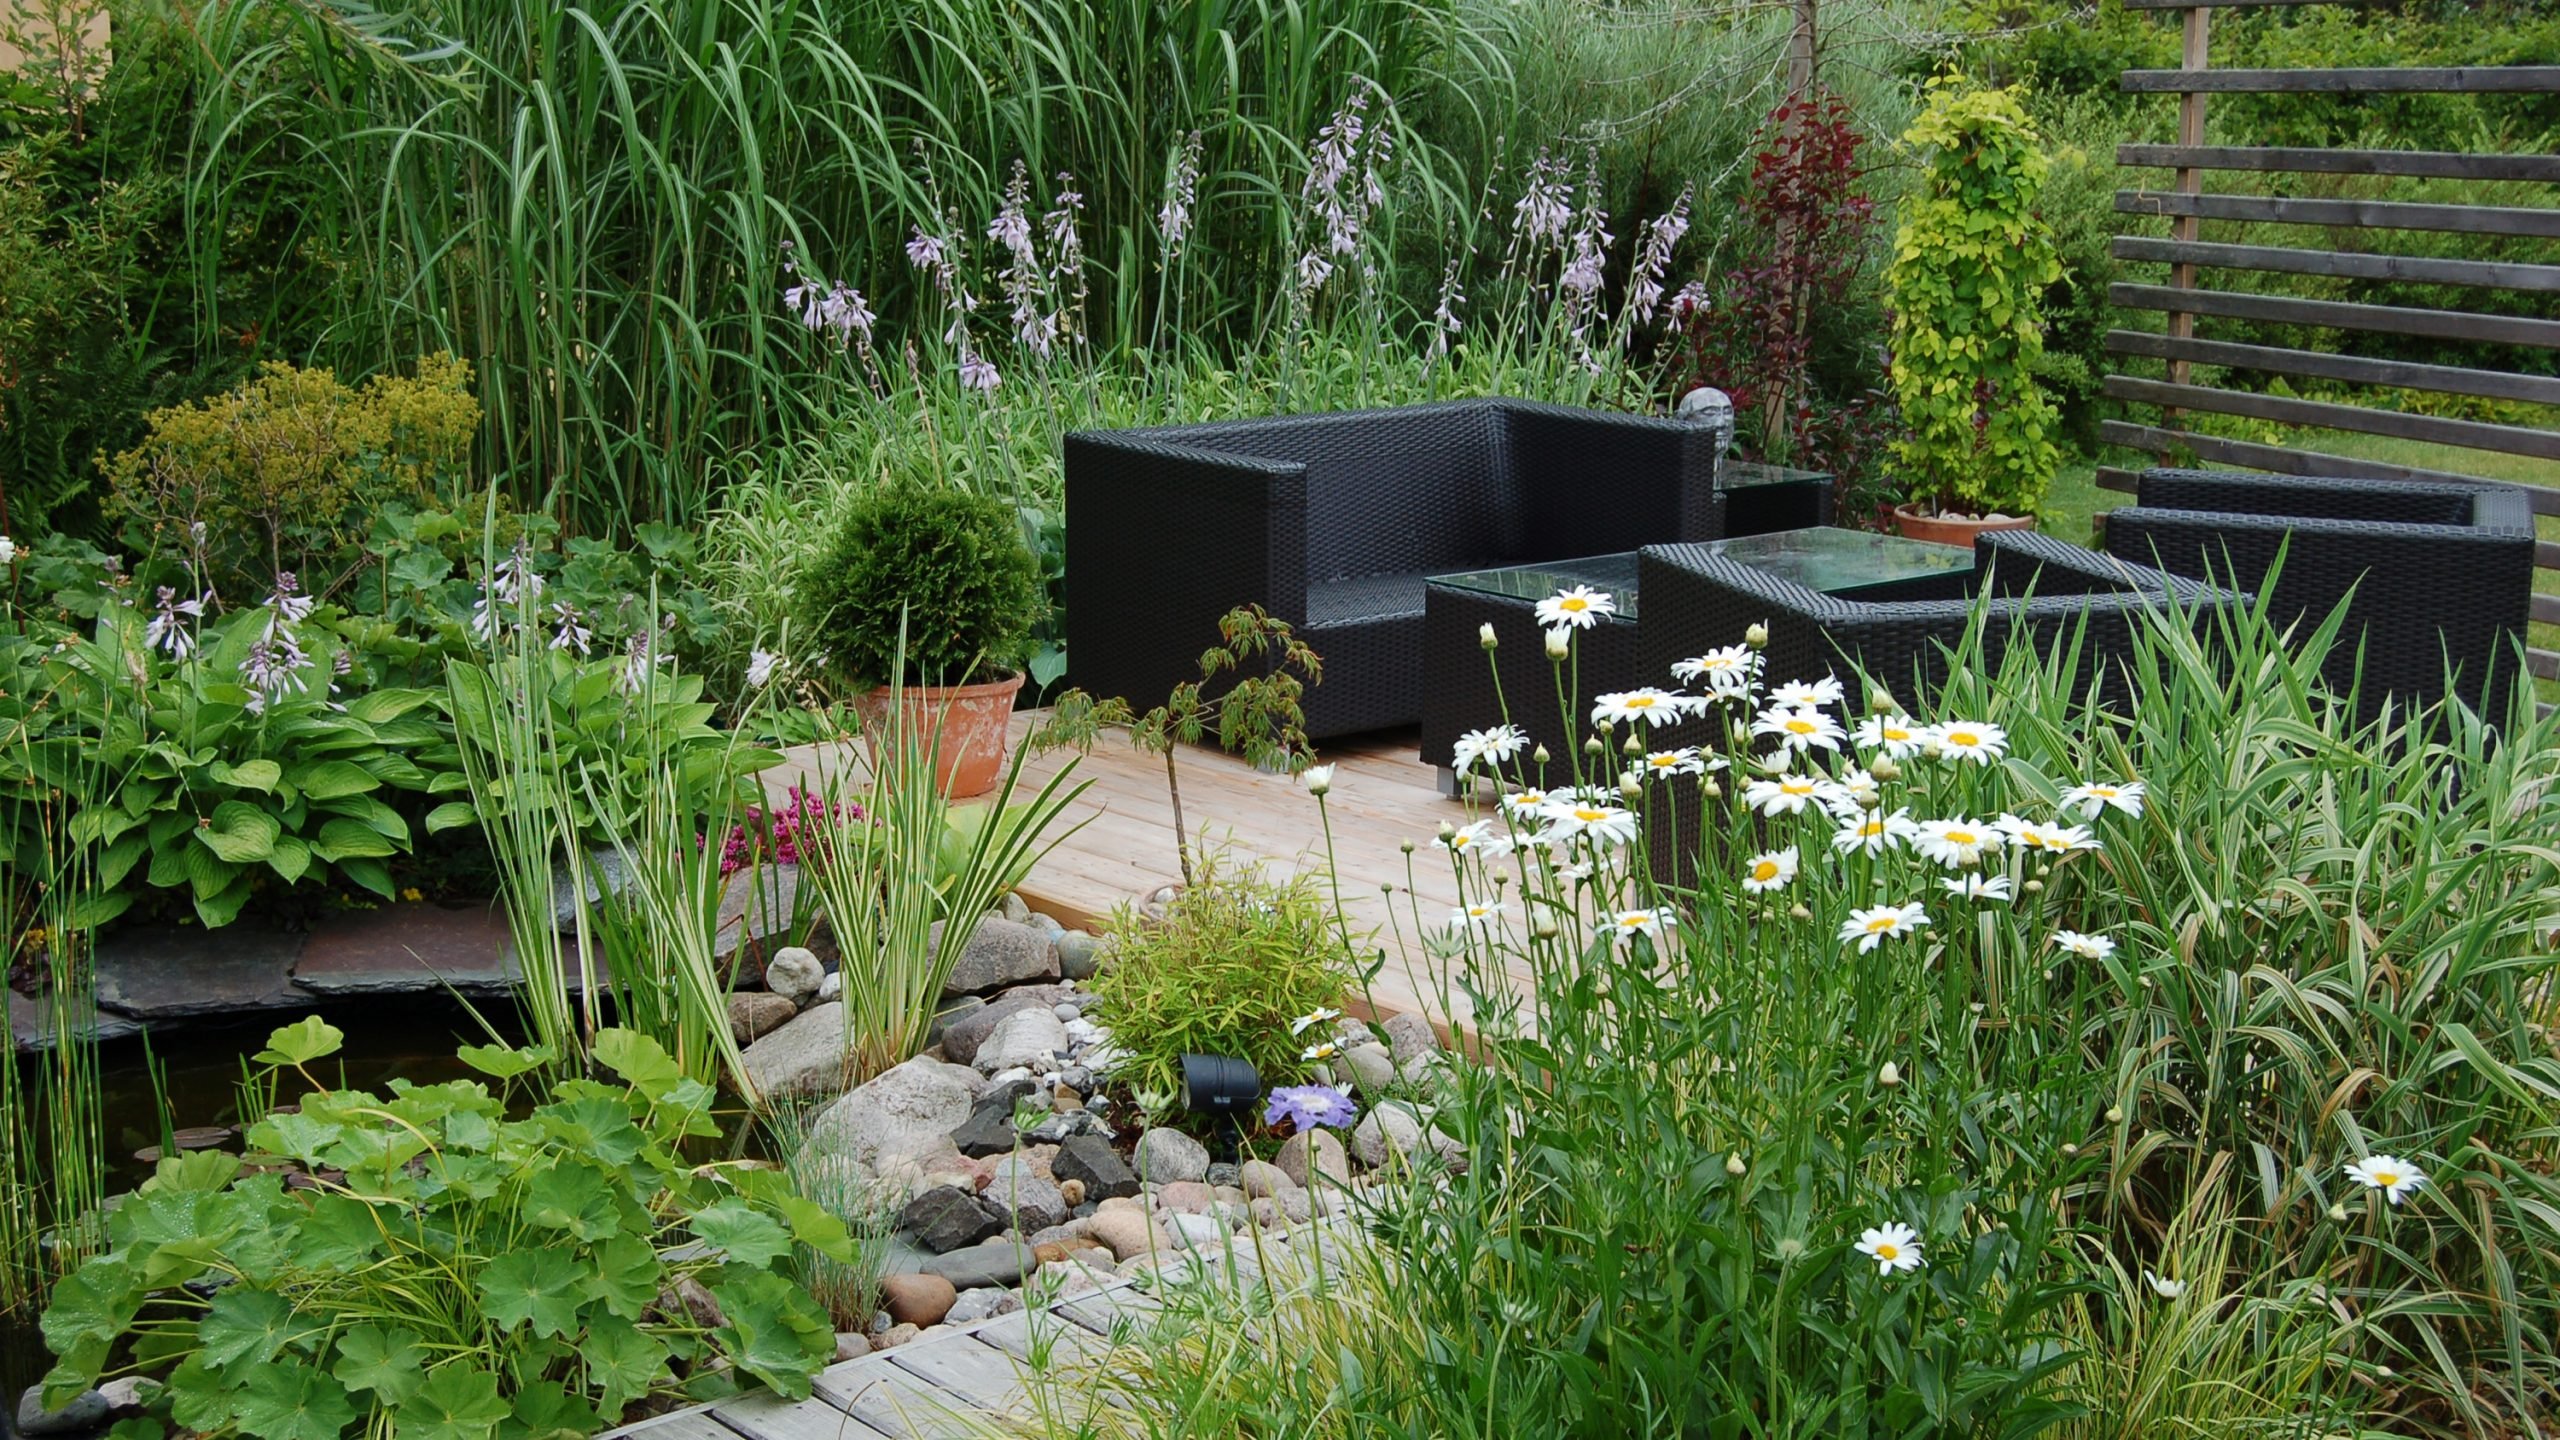
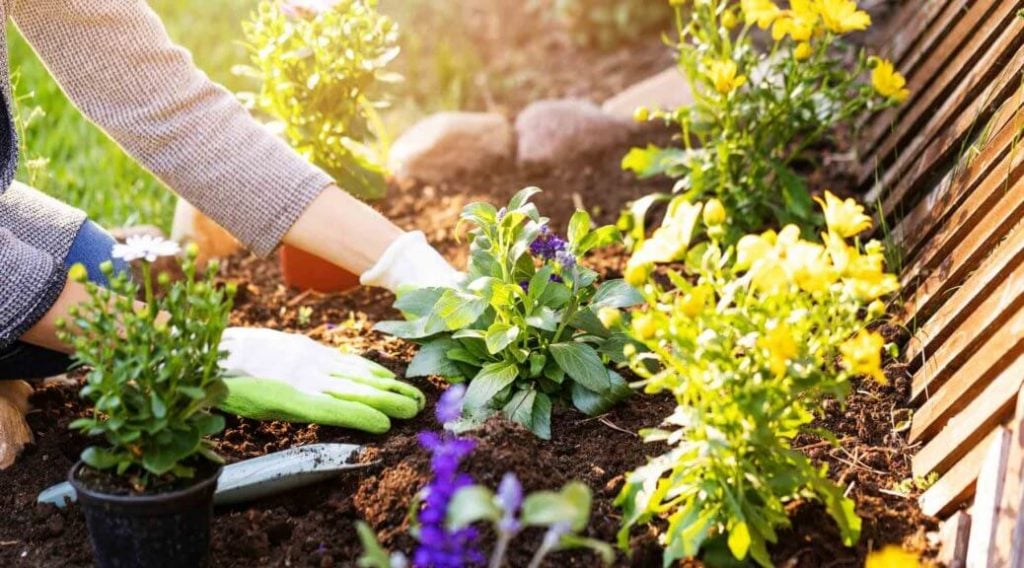
Stage 9: Planting the Area
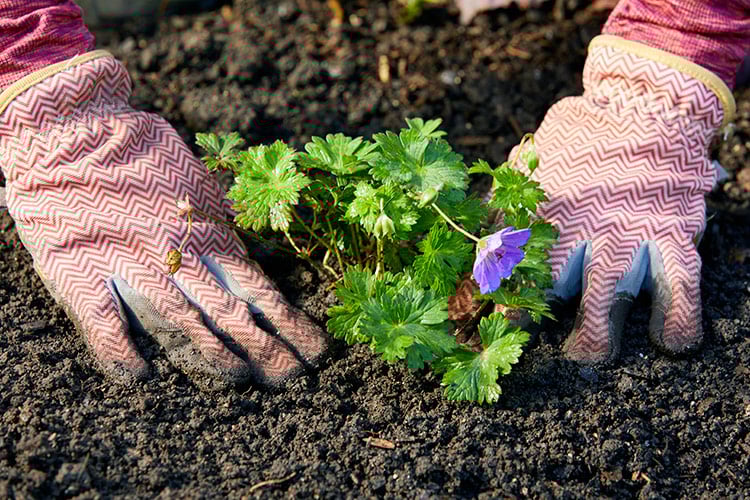
The ninth stage is planting the area. Planting the area that has been levelled is important because it adds beauty to the garden and helps to prevent soil erosion. Plants add beauty, colour, and texture to the garden, creating an inviting and enjoyable space. They provide habitat and food for wildlife.
Here are some useful tips for selecting the right plants and planting them effectively.
- Choose plants that are suited to the local climate, soil type, and light conditions.
- Consider the mature size of the plants and their growth habits, and ensure that they will not interfere with retaining walls or other structures.
- Plant in clusters to create a visually appealing garden.
- Follow planting instructions carefully, including proper soil preparation and watering.
Stage 10: Maintaining the Garden
The tenth and final stage in levelling a sloping garden is maintaining the garden. After all the hard work that went into creating a levelled garden, it is important to ensure that it remains healthy and attractive for years. Regular maintenance will help to keep the garden healthy and prevent problems from arising.
Some common tips to maintain your newly levelled garden are listed below.
- Water plants regularly, ensuring that they receive enough moisture but are not over-watered.
- Remove weeds as soon as they appear to prevent them from spreading.
- Fertilise the plants whenever required to promote healthy growth.
- Prune plants to maintain their shape and prevent them from overgrowing.
- Inspect retaining walls and other structures regularly for any damage and make necessary repairs promptly.
Ready to Have a Levelled Garden!
In conclusion, levelling a sloping garden can significantly transform your landscape from an unmanageable space to a functional space. By levelling your sloping garden, you can make gardening easier, safer, and more enjoyable. Not only that, but it can also enhance the aesthetic value of your outdoor space.
In this article, we’ve already discussed the 10 stages required to level a garden. It’s important to note that every step mentioned above plays a crucial role in the success of this overall project. By following the above stages, you can create a level garden that is not only visually pleasing but also functional for your needs.
If you have a sloping garden and have been considering levelling it, we encourage you to take on the challenge! While it may require some hard work, the end result will be worth it.
Frequently Asked Questions
How Do You Level a Sloping Garden?
To level up a sloping garden, you can follow these 10 steps.
- Evaluate the slope
- Gather materials and tools
- Mark the boundaries
- Remove vegetation and debris
- Excavate the area
- Add soil and compost
- Compact the soil and check its level
- Install retaining walls
- Plant the area
- Maintain the garden
By following these steps carefully, you can create a level garden that is both visually pleasing and functional.
What Is the Cheapest Way to Level a Garden?
The cheapest way to level a garden is to use a shovel, rake, and wheelbarrow to move the soil from high spots to low spots manually. This method requires a significant amount of labour and time, but it can be done without any expensive equipment and materials. However, if your garden is very steep or the area is large, it may be more practical to hire professional help.