How To Install Irrigation Solenoid Valves: A Comprehensive Guide
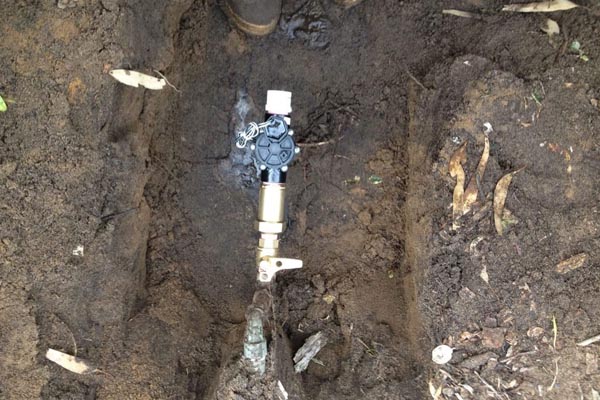
Table of Contents
Irrigation solenoids are essential components of an irrigation system, responsible for controlling the flow of water to different zones within the system. These solenoids work in conjunction with automatic irrigation controllers to ensure optimal watering of plants or crops. Correctly installing irrigation solenoids is crucial for maintaining efficiency and performance of the system.
Types of Irrigation Solenoids
Irrigation solenoids come in two primary categories: AC (alternating current) and DC (direct current) solenoids. AC solenoids are commonly used in residential and commercial irrigation systems, while DC solenoids are typically found in battery-operated controllers or solar-powered systems.
Advantages of AC solenoids include being more readily available and often more affordable. However, they typically require a continuous power supply. DC solenoids, on the other hand, may be more energy-efficient and suitable for remote locations or systems with limited power access.
There are also latching and non-latching solenoids. Latching solenoids maintain their open or closed state without continuous electrical power, making them energy-efficient and suitable for battery-powered systems. Non-latching solenoids require a constant power supply to maintain their state, which makes them more suitable for systems connected to an AC power source.
Choosing the Right Solenoid Valve for Your System
Key factors to consider when selecting the appropriate solenoid valve for your irrigation system include:
- Water pressure
- Flow rate
- Power supply
Ensure the chosen solenoid valve is compatible with your system’s requirements to avoid potential issues and malfunctions.
Materials Required for Installation
Before beginning the installation process, gather the following materials and tools:
- Solenoid valve
- Irrigation tubing
- PVC cement and primer
- Wire connectors
- Teflon tape
- Pipe cutter
Steps for Installing Irrigation Solenoids
1. Turn off the water supply
Ensure safety and prevent water damage during installation by turning off the main water supply to the irrigation system.
2. Prepare the area for installation
Choose an appropriate location for the solenoid valve, usually near the main water supply line and the irrigation controller. Clear the area of any debris or obstacles, and expose the pipes where the solenoid valve will be installed.
3. Connect the irrigation tubing to the solenoid valve
Use a pipe cutter to cut the irrigation tubing to the required length. Apply PVC primer to the ends of the tubing and the solenoid valve inlet and outlet connections. Then, apply PVC cement to the primed areas and connect the tubing to the solenoid valve. Hold the connection in place for a few seconds to ensure a secure bond.
4. Connect the solenoid valve to the main water supply line
Wrap Teflon tape around the threads of the main water supply line and the solenoid valve. This will help create a watertight seal between the two connections. Screw the solenoid valve onto the main water supply line, ensuring a tight and secure connection.
5. Connect the wires to the solenoid valve
Depending on the type of solenoid (AC, DC, latching, or non-latching), follow the manufacturer’s wiring guidelines. Ensure that all electrical connections are secure and waterproof by using wire connectors designed for outdoor use.
6. Test the system
Turn the water supply back on and activate the irrigation system. Check for any leaks around the connections and ensure the solenoid valve is operating correctly. Make any necessary adjustments and troubleshoot any issues as needed.
Safety Precautions
During installation, ensure adequate safety measures are taken, such as:
- Using insulated tools to prevent electrical hazards or shocks
- Wearing appropriate protective gear, like gloves and safety glasses
- Being mindful of your surroundings to avoid accidents
Troubleshooting and Maintenance
Common problems that may be encountered during installation include leaks, solenoid valve malfunctions, and wiring issues. Consult the manufacturer’s guidelines for troubleshooting specific issues related to the solenoid valve model being installed.
Preventative maintenance tips for solenoid valve longevity:
- Periodically inspect the valve for any signs of wear or damage
- Keep the area around the valve clean and free from debris
- Check the electrical connections for any signs of corrosion or damage
- Monitor the system’s performance and address any issues promptly
Regulations and Codes
Depending on your location, there may be specific regulations and codes that must be followed when installing irrigation systems. Ensure you are familiar with and adhere to any local requirements to avoid penalties and ensure system safety.
Conclusion
Properly installing irrigation solenoids is essential for optimal performance and longevity of an irrigation system. By following the steps outlined in this guide and paying attention to detail, you can ensure a successful installation and a well-functioning irrigation system. Remember to prioritize safety during installation and keep up with regular maintenance to extend the life of your solenoid valves.