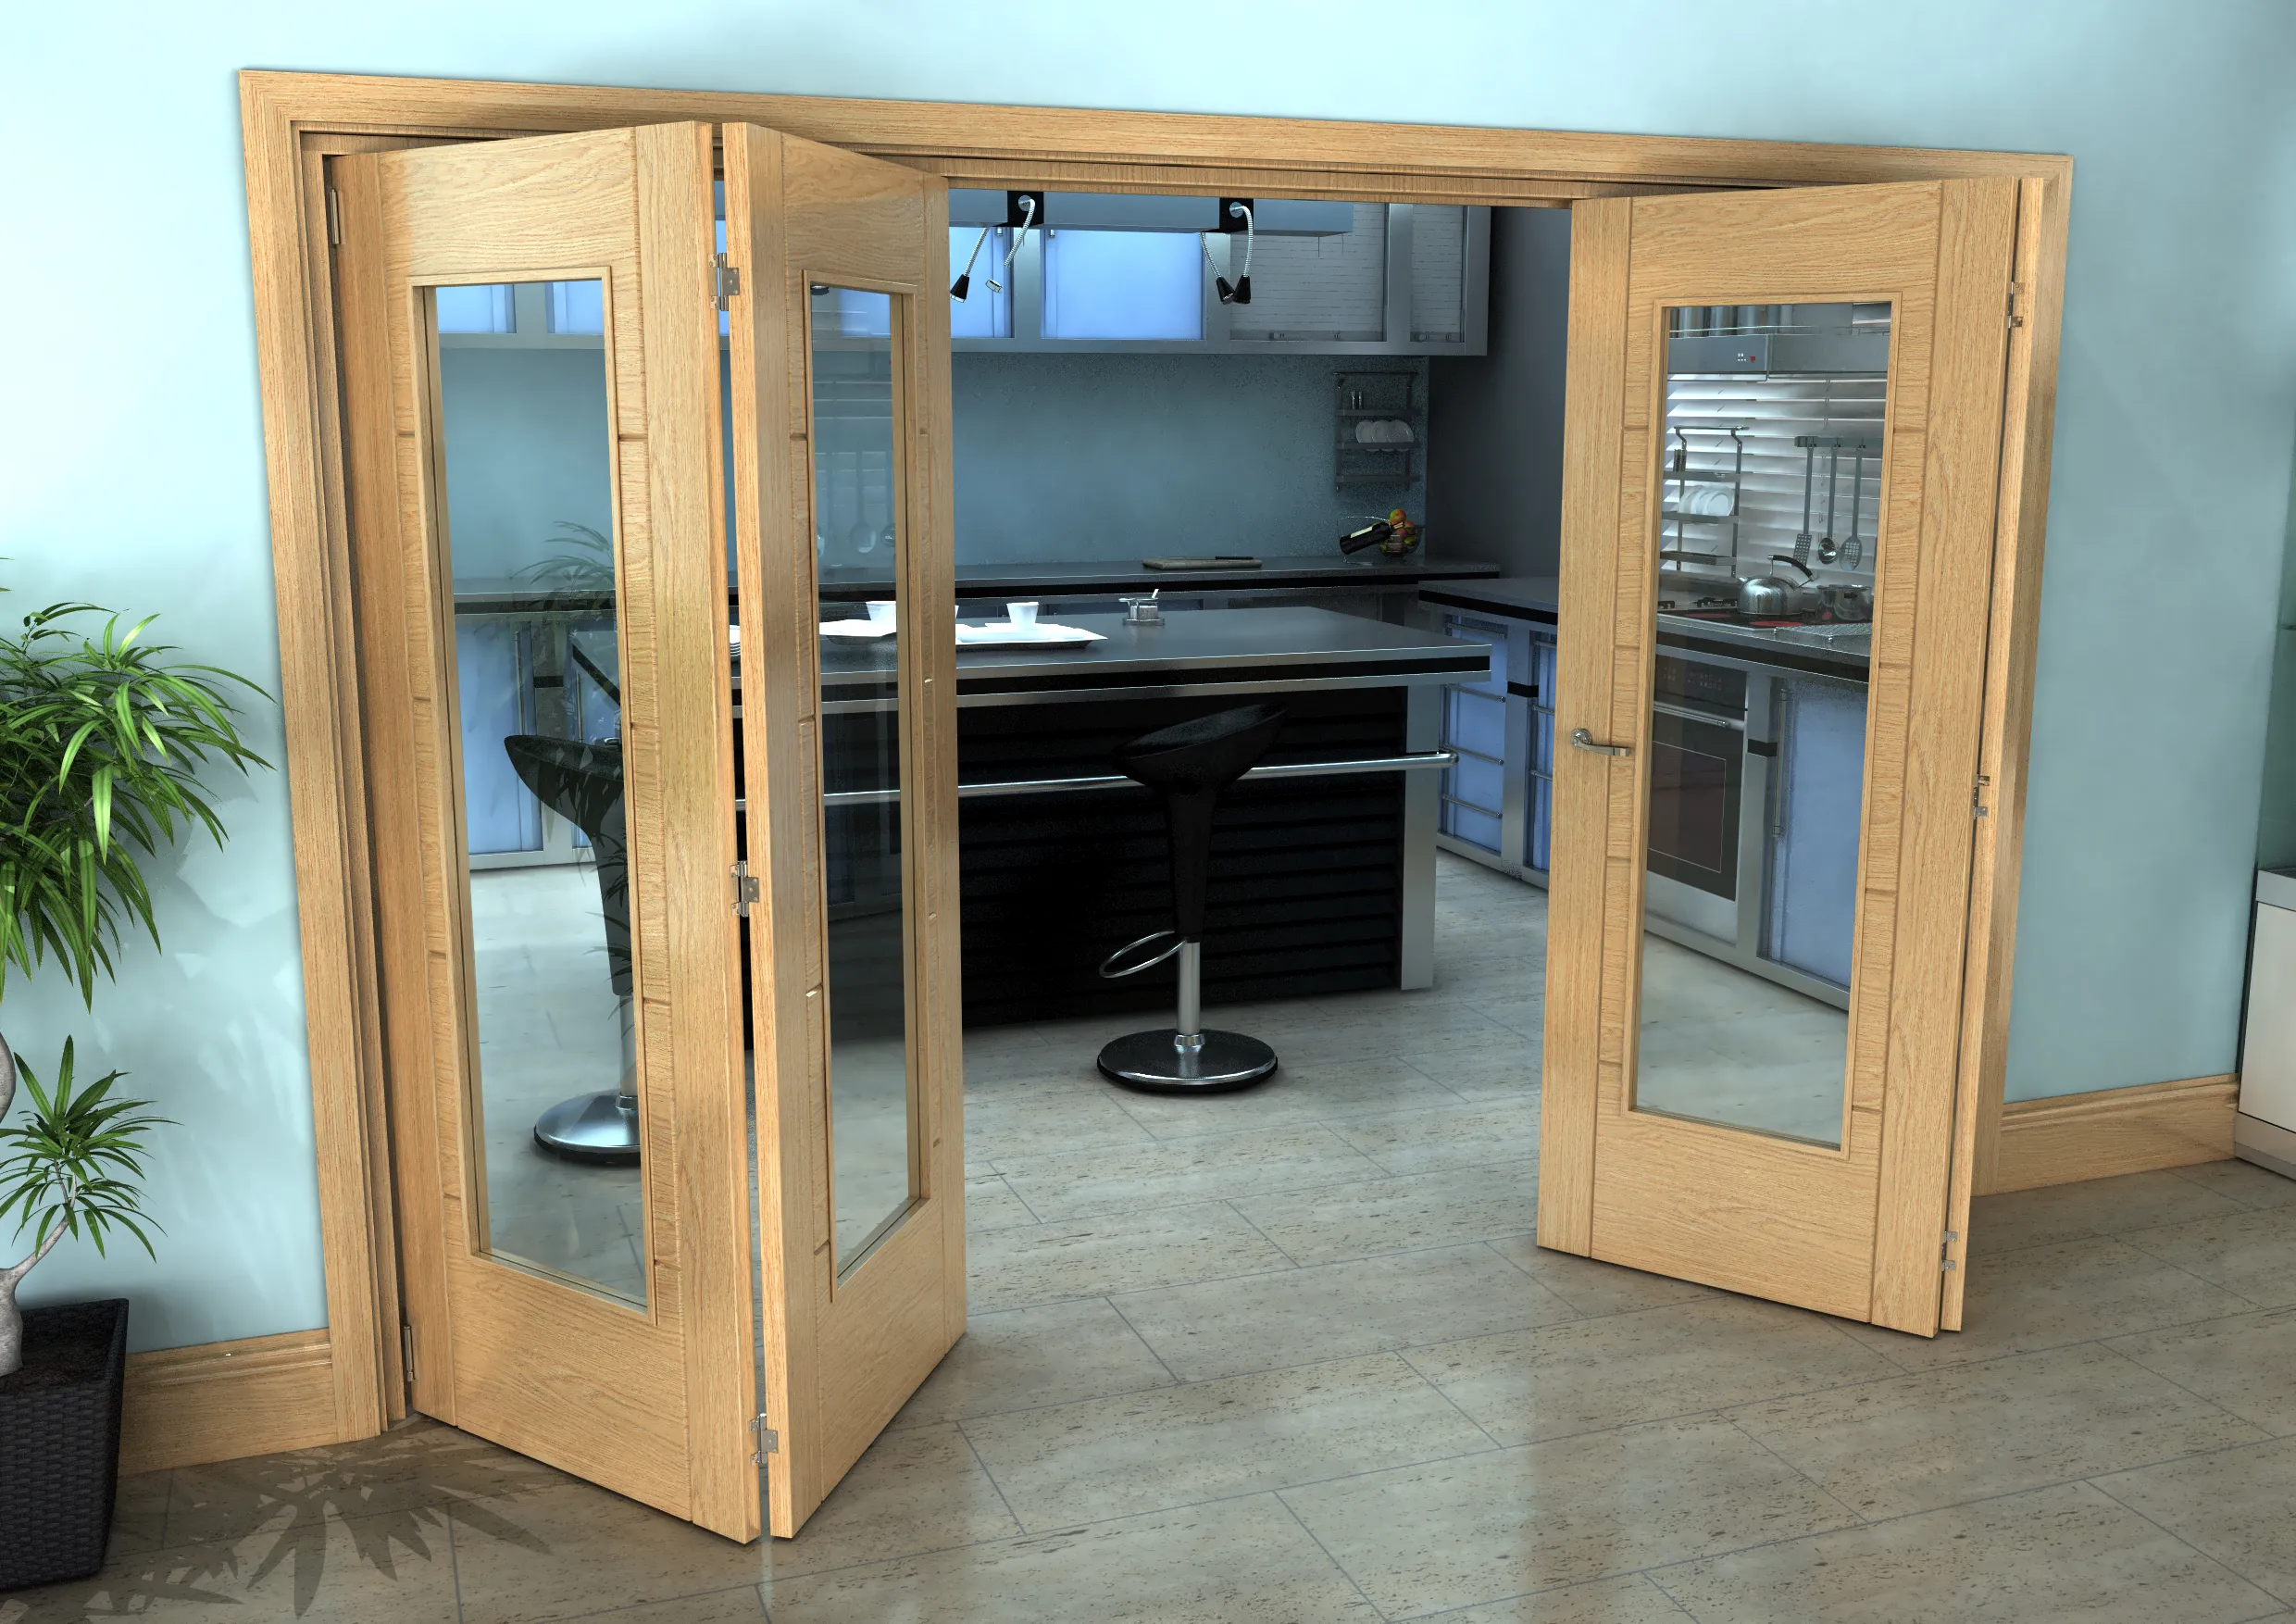
How To Install A Bifold Door In 7 Steps

Table of Contents
Installing a bifold door is a great way to add a touch of functionality and style to your home. Whether you’re updating a closet or creating a room divider, bifold doors can be the perfect solution. They’re space-saving, easy to use, and can make any room look more polished and organized.
This article provides a step-by-step bifold door installation guide to help you throughout the process. Dive in!
1. Gather Your Tools And Materials
Before you start your installation project, ensure you have all the necessary tools and materials. They include the following:
- Bifold door kit
- Measuring tape
- Pencil
- Level
- Wood shims
- Screwdriver or drill
- Screws
- Hammer
The right tools will help you complete your project on time. And the best part? You can easily do it yourself – you only need quality bi folding sliding glass doors and the necessary supplies from reputable vendors.
2. Measure And Prepare The Door Opening
 Measure and prepare the door opening. Start by measuring your door opening and record its width and height. This will ensure your bifold doors fit.
Bifold doors come in various sizes, so compare the door’s dimensions to your opening. Remember to account for flooring or carpet that might affect the height. If needed, trim the door to fit.
Next, check if the door opening is square. Use a level to see if the sides are even. If they aren’t, adjust them with wood shims. This step is vital for the smooth operation of your bifold door.
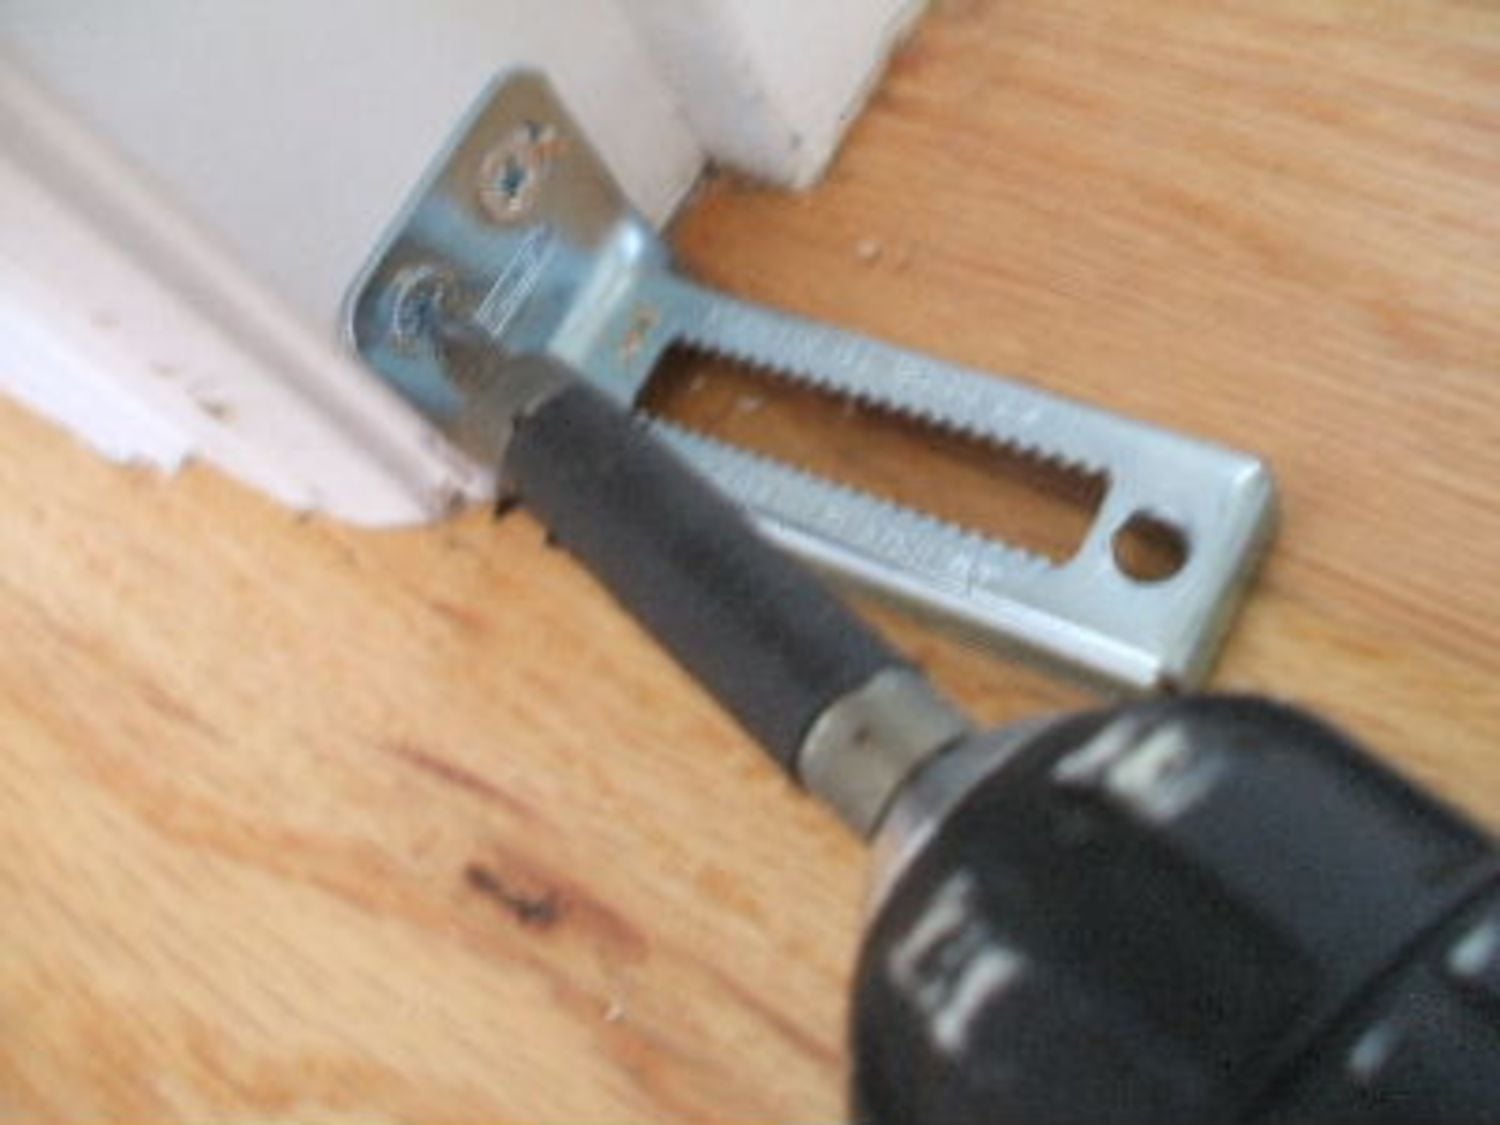
3. Install The Track Hardware
The bifold door track is crucial for your bifold door’s functionality. Begin by measuring and marking the centre of the door opening on the header. This mark helps you position the track accurately. Next, align the track with this mark, ensuring its level.
Use a level to check for accuracy. Once aligned, secure the track with screws. Whether you want to install a fancy patio door or a simple room divider, make sure the track is level and secure for stability and smooth door operation.
4. Attach The Brackets
Bifold doors have brackets that help guide and support them. Typically, these brackets are installed at the top and bottom corners of the door opening.
Place the brackets on the floor and the header on the side where the door will pivot. This bracket provides a stable point for the door to swing.
You can then install the guide bracket on the opposite side, at the top of the door opening. This guide bracket helps keep the door aligned and ensures it moves smoothly on the track.
5. Install The Door Hinges And Pivot Pins
 After attaching the brackets, install the hinges to the bifold door panels. Follow the manufacturer’s instructions, as these hinges are usually pre-drilled and marked for easy fold door installation.
Once you secure the hinges, insert the pivot pins into the designated holes at the top and bottom of the door panels. These pins help the door swing effortlessly.
Next, secure the guide pins into the holes on the opposite side of the door. These guide pins keep the door aligned and ensure it operates correctly. Take your time in this step to ensure your bifold door will function as intended.
6. Hang And Adjust The Doors
Now that the track, brackets, and hinges are in place, install the folding doors. Carefully lift each door panel and insert the top pivot pin into the corresponding bracket on the track.
Next, position the bottom pivot pin into the floor bracket. Make sure the door hangs straight up and down, and secure the guide pin into the track.
You may have to adjust the door for a smooth operation. Use a level to confirm the door is plumb and level – loosen the screws on the pivot pins slightly, adjust the door position, and then retighten the screws to secure the door.
7. Install The Door Pull
 Installing a door handle makes your bifold door easy to open. Most people place door pulls around the middle of the door panel.
To begin, mark the spot where you want to install the pull. If needed, drill pilot holes for the screws. Finally, screw the door and pull it into place.
Conclusion
Installing a bifold door is a straightforward DIY project that can improve the functionality and appearance of your space. Following the above steps will help ensure a smooth installation process. Take your time with each step. Pay attention to detail and accuracy for the best results. Your careful effort will pay off in a door that looks great and works perfectly.