How to Grow Astilbe from Seed & Maintain It in 10 Simple Steps!
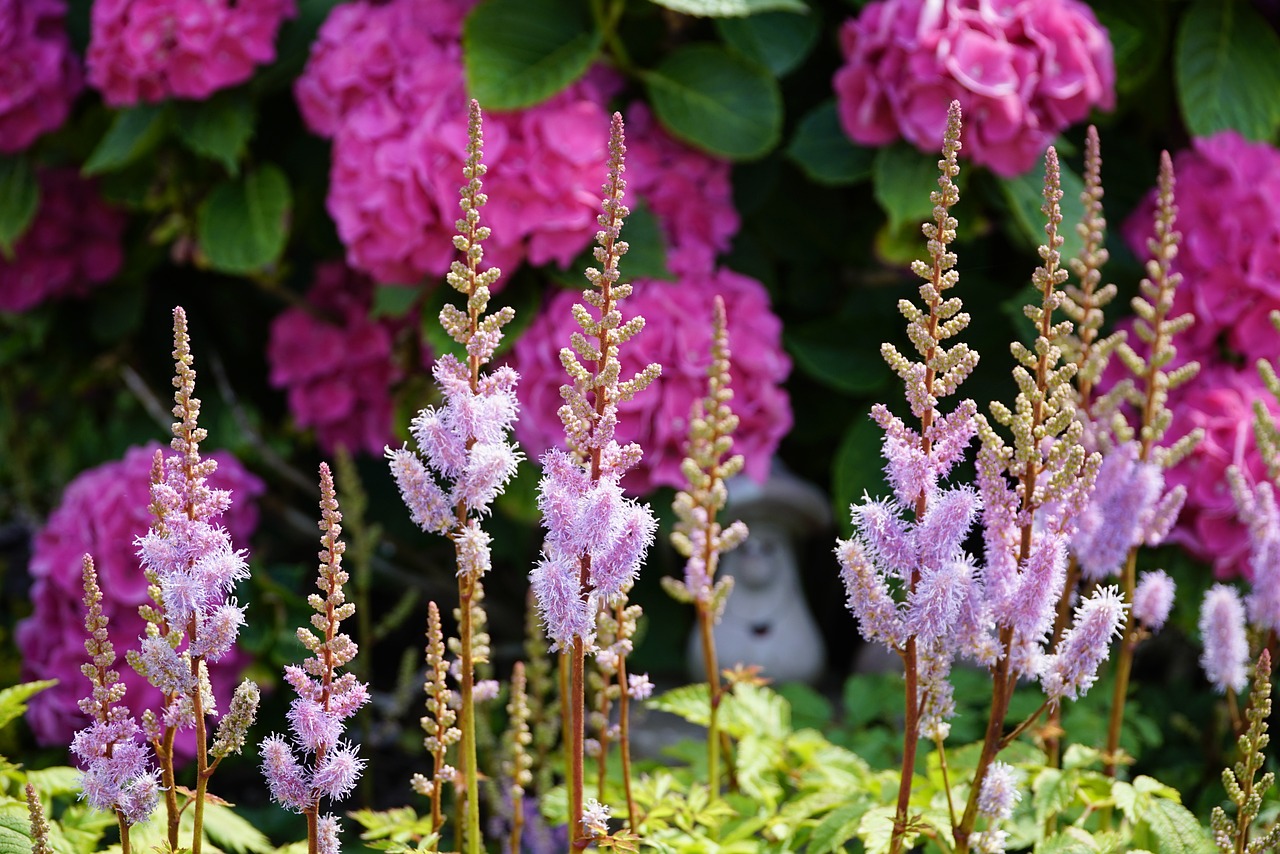
Table of Contents
After enjoying the bright colors of an astilbe plant in somebody else’s garden, do you want it in your place too? However, you are confused about how to grow Astilbe from seed and maintain them.
We are here to make this process easier for you. With proper guidance, growing this beautiful flower will not be tiresome.
There are many factors to consider before planting the seeds and after the plant has grown.
This article answers all your questions and confusion regarding those aspects.
You will easily be able to grow Astilbe from seed on your own without any help after reading this.
1. Collect the Seeds of The Astilbe Plant & Store Them
Astilbe comes in shades like pink, deep red, lavender, peach and white. So first, decide which shade/s you plan to grow in your garden. Then, based on your choice of color, you will hunt for a seed that will particularly grow flowers of that shade.
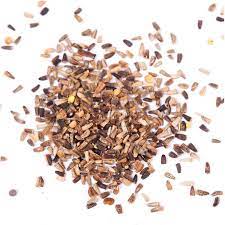
Getting them will be easier if you have an astilbe plant in the neighborhood. In the existing plant, you will observe seeds on the heads after the flowering process. Collect the stem before they scatter and fall off. The stems are dried and kept inside a container or a small bag. Cover and shake them so that seeds fall off the stem. As you open the container, separate the seeds and store them.
Another alternative to this is buying mixed-colour astilbe seeds online. No matter how you gather your seeds, keep them safe and dry until you plan to sow them.
2. Choose an Appropriate Time to Plant the Seeds
The best time to grow this beautiful perennial plant is spring or autumn. However, you can begin the process anywhere in late September or mid-October. The cooling atmosphere and mild warmth create a favorable environment for the plant to germinate and grow. You can also plant the seeds indoors in early spring and shift them outdoors in the fall.
Summers are not the best time to grow Astilbe from seed. Their aversion to drying might hinder the growth process. Buying the seeds early and storing them till the planting season is a smart choice. As per years of observation, the chances of germination of aged seeds are more than fresh seeds.
3. Select the Soil that Supports Growth
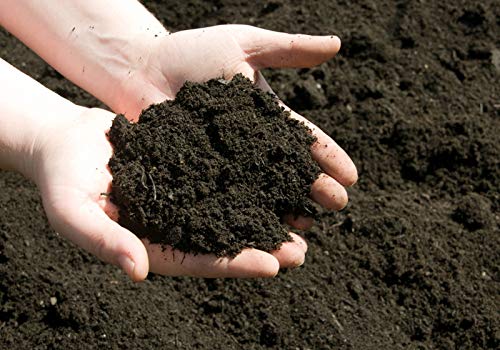
Rich and moist soil is the best option to grow Astilbe from seed. It is a plant that requires moisture for deep roots and quicker Growth. Well-drained soil with a slightly acidic pH (6.0) will help the plant thrive. Before you set up the seeds, add multiple layers of organic matter to the soil.
The excess organic matter will keep the soil wet, rich, and filled with nutrients. If the land becomes dry, the germinated seeds or saplings may dry or die due to the scorching summer heat. Along with the moisture in the soil, this plant also loves an environment with light shade.
4. A Step Before Sowing Seeds
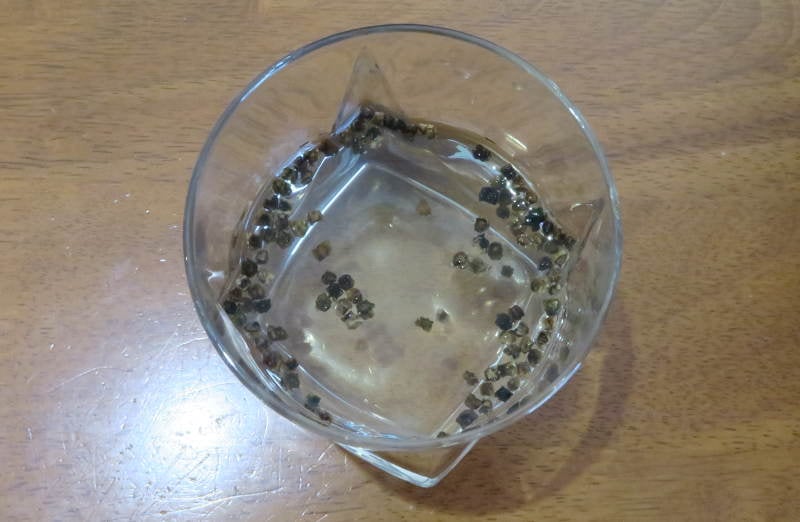
If you want to increase the chances of growing Astilbe from seed, don’t forget to soak the seeds in water. YES! This small step can help a lot in accelerating the germination process. Remove the stored seeds and soak them in water for about 24 hours before sowing them.
When you soak the seed, it quickly enhances the moisture content around them. This change in the atmosphere gives them the signal that now there is a safe space to grow. Some seeds have a layer around the embryo for protection. It breaks only after finding a safe space to grow. Soaking the seeds plays a significant role in breaking this layer.
5. Plant Them in a Tray or Small Pot
An ideal environment for the Growth of this plant is a space with sunlight for 5-6 hours and light shade. It can either be grown indoors or outdoors. However, make sure that the plants get a moderate amount of sunlight. Extreme sunlight can dry up the plant, and no sunlight can hinder the Growth of the plant.
- 【Super Valuable and Funtional】- Enjoy an amazing valuable 6-pack planter pots that come with...
- 【Modern Indoor Planter】 - Designed with a matte simple color finishing exterior in soft round...
- 【Lightweight and Durable】- Made of lightweight but super durable premium plastic, T4U small...
In the initial days, use plant pots to grow Astilbe from seed. In a tray or plant pot, sprinkle seeds on suitable rich soil. Press them a little in a way that they bury in the surface and also get some light. Make sure that the wetness maintains and that there is proper drainage during the germination process. Use spray bottles to water the pot in the initial days. The germination process occurs naturally within 4-5 weeks.
6. Plant Them Out At the Right Time
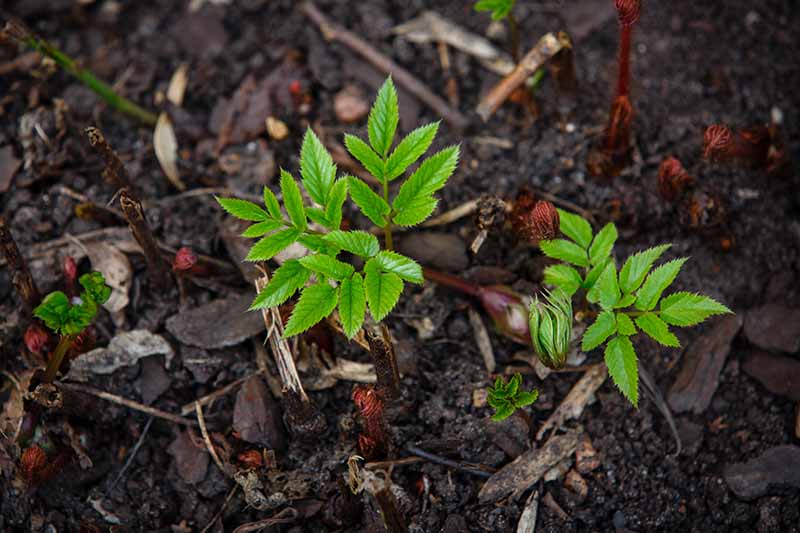
Once the astilbe seedlings reach a height of 2 inches, you can transplant them outside in the garden. But, again, be careful about selecting an appropriate space for their Growth. Keep a distance of 18 to 24 inches between each sapling you plant.
They will look beautiful as a waterside plant if you have a water body in the neighborhood. When you grow Astilbe from seed, know that the roots must be planted eight weeks before hard frost occurs in your area. It will give them time to secure their foundation. Strong roots reduce the risk of being harmed by frost.
7. Water Them Regularly
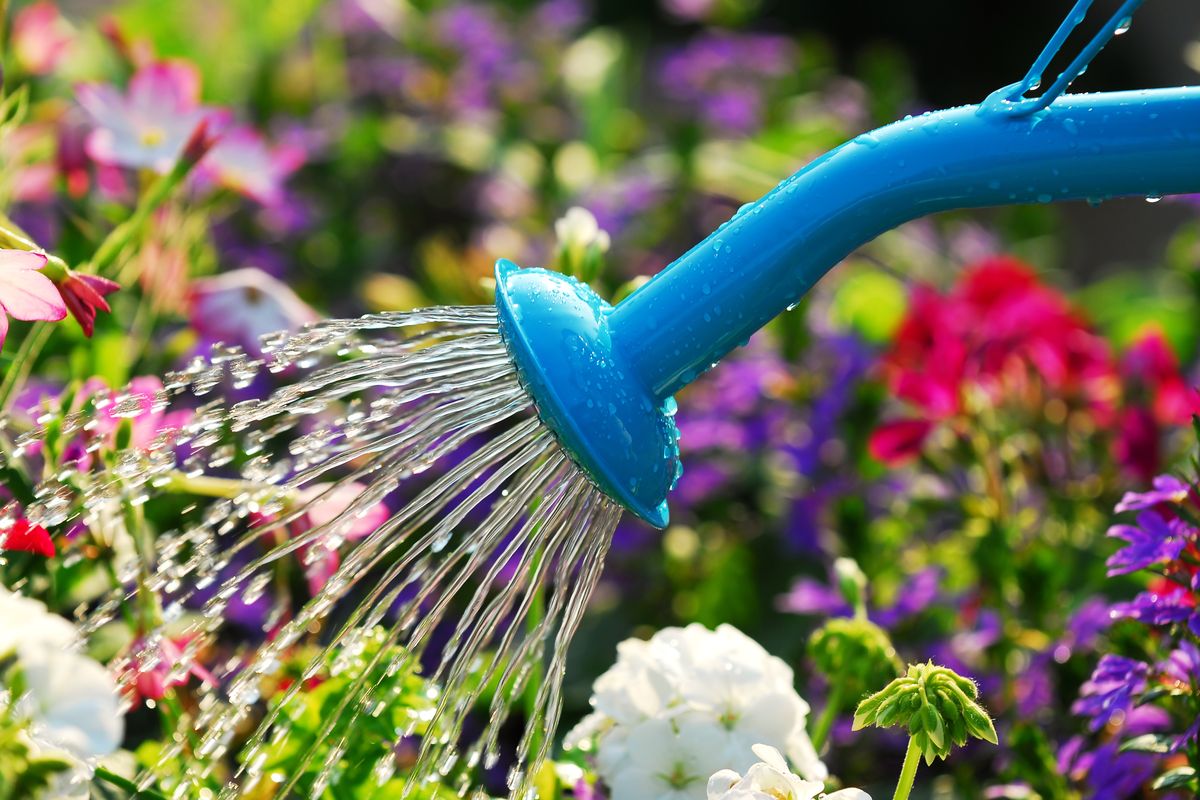
Once you have planted the tree outside, now is the time to wait for flowers to bloom. Water and sunlight are crucial components that help grow the new plant. For newly planted Astilbe, be generous while watering them. You can water two to three times a week for the initial growing season. Reduce the watering once they die back to bare in winter.
When they regrow next spring, the soil will have more moisture, and the roots will be stronger. In the second year, you will only need to water the plants when the soil dries out and asks for it. It will make the roots strong and also moisturize the land. Use a watering can and ensure you do not put too much water in the astilbe plant. Sometimes, lack of water can cause the edges of astilbe leaves to turn brown.
- Genius Design: The best in class collapsible watering can outdoor enthusiasts love that converts to...
- Top Up with Ease: Remove the watering can rose head & attach the extension tube to easily top up...
- Space-Saving & Multi-Use: Say goodbye to bulky plastic buckets & hello to these unique space-saving...
8. Maintenance After Growing Astilbe from Seed
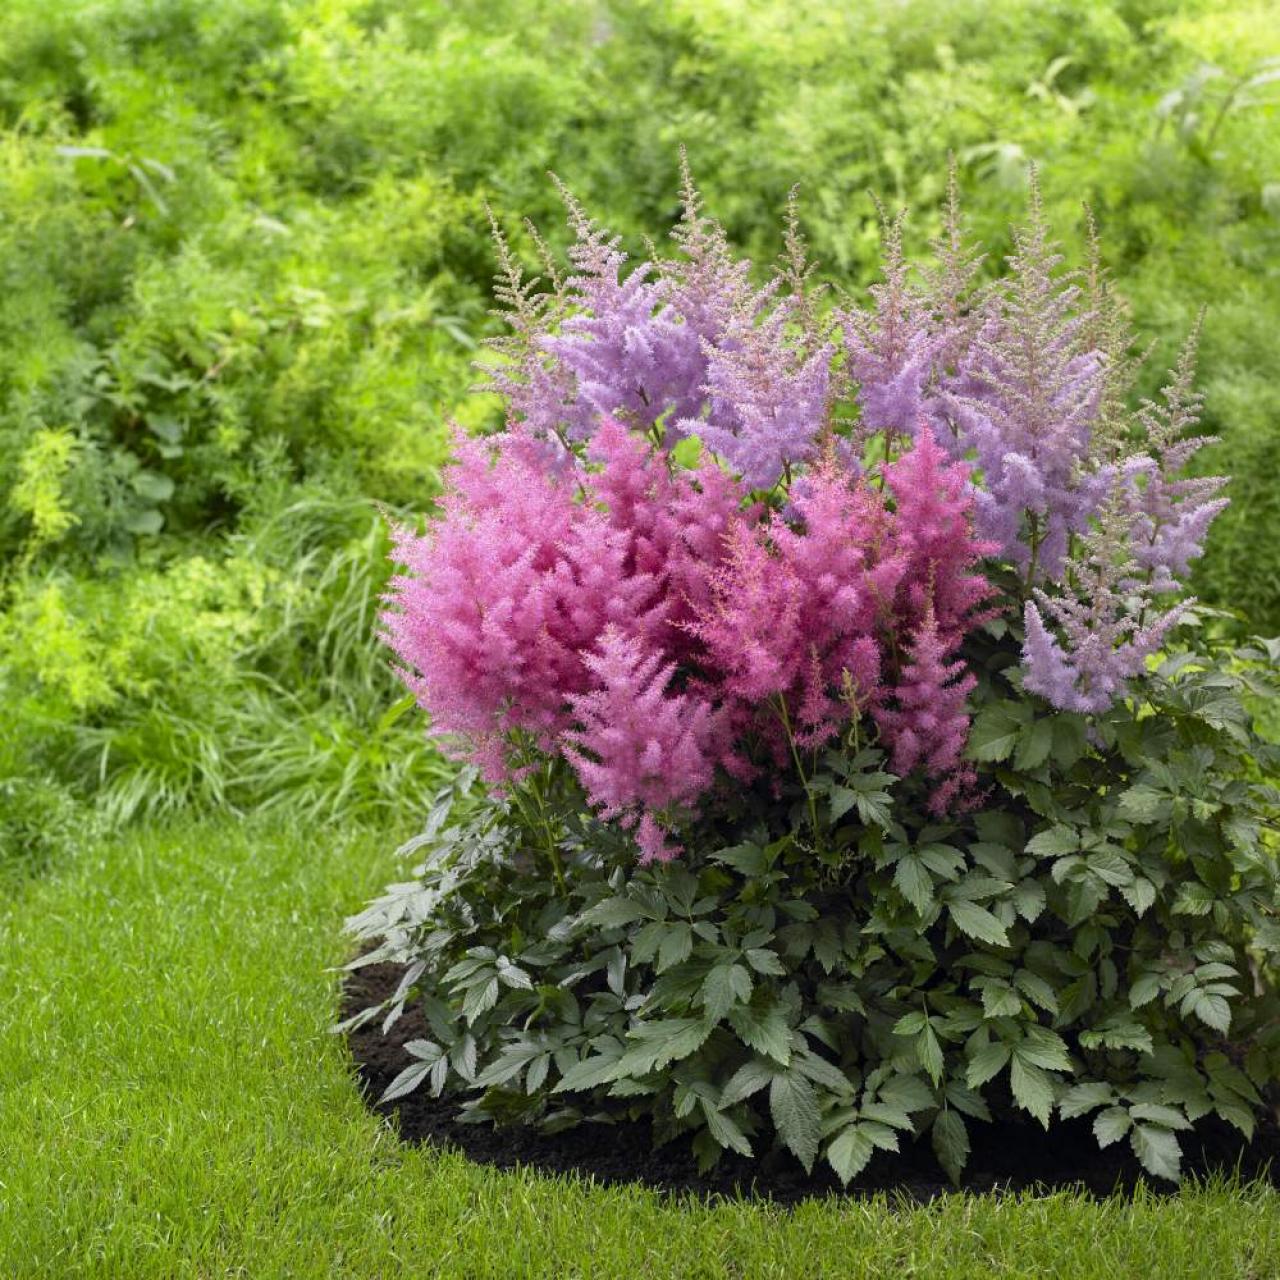
Astilbe is the kind of plant that does not require much maintenance. Appropriate water and sunlight will be enough to help them grow. To enhance the Growth, you can add phosphorous-rich fertilizer during the spring in moist soil. Make sure to add fertilizer to the roots and not on the plants.
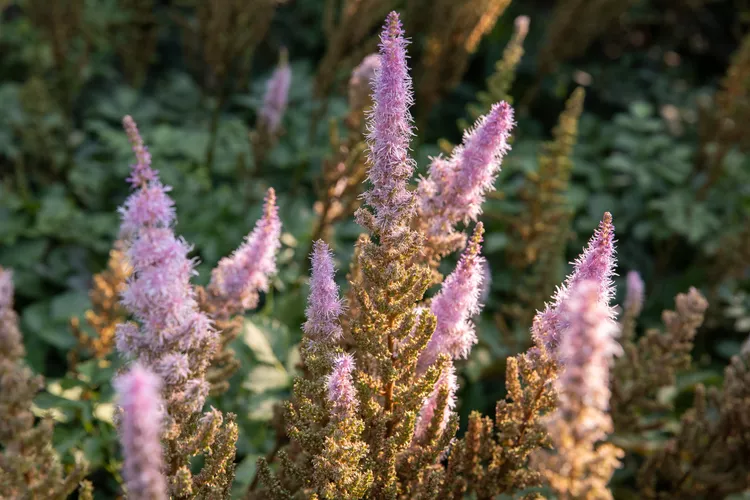
After the blooming season, flowerheads will dry and remain on the plant. They have their beauty in the dryness and unique shade. You can cut them and use them as mulch to protect the roots. Feel free to cut off the yellow leaves before the spring to make space for fresh Growth.
Give necessary treatment in case of any pests or insects. For example, using fungicides or treating the soil with pesticides are ways to deal with unexpected changes in the plant.
9. Divide the Growth, if Needed
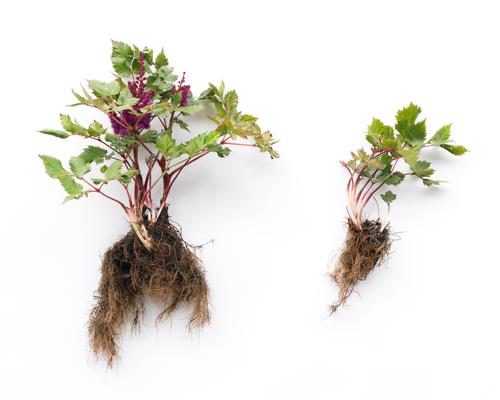
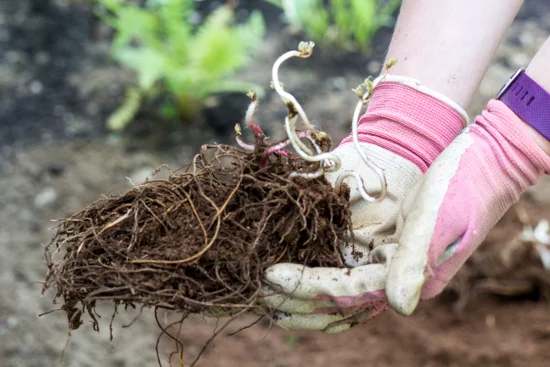
After every 3-5 years, you can divide the astilbe plant for its healthy Growth. Dig up and cut the plant’s root ball into several pieces. It eliminates the unnecessary crowding that can happen below the soil. Plant the separated parts from the root balls in different spaces of your home. You can also plant them in a pot and gift them to your loved ones.
The best time to divide them is early spring or fall. You can directly replant them if divided in the fall. Divided in any other season, you can store the root balls in a container in your home and wait till the fall.
10. Enjoy the Bloom
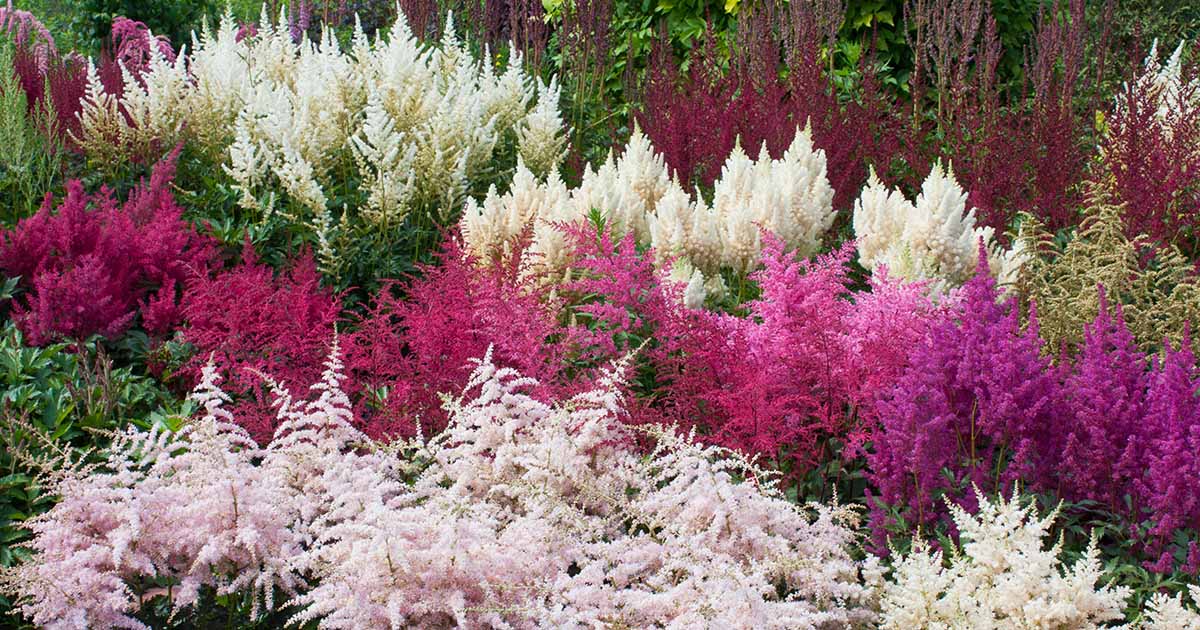
You will get to see beautiful colors of astilbe plants between the phase of late spring and late summer. Enjoy the fruits of all the hard work done to grow Astilbe from seed. This seasonal plant teaches an important lesson about life. In some seasons, they bloom with colors, and they dry up. Change is the law of life, and this plant teaches every human to enjoy different seasons of life.
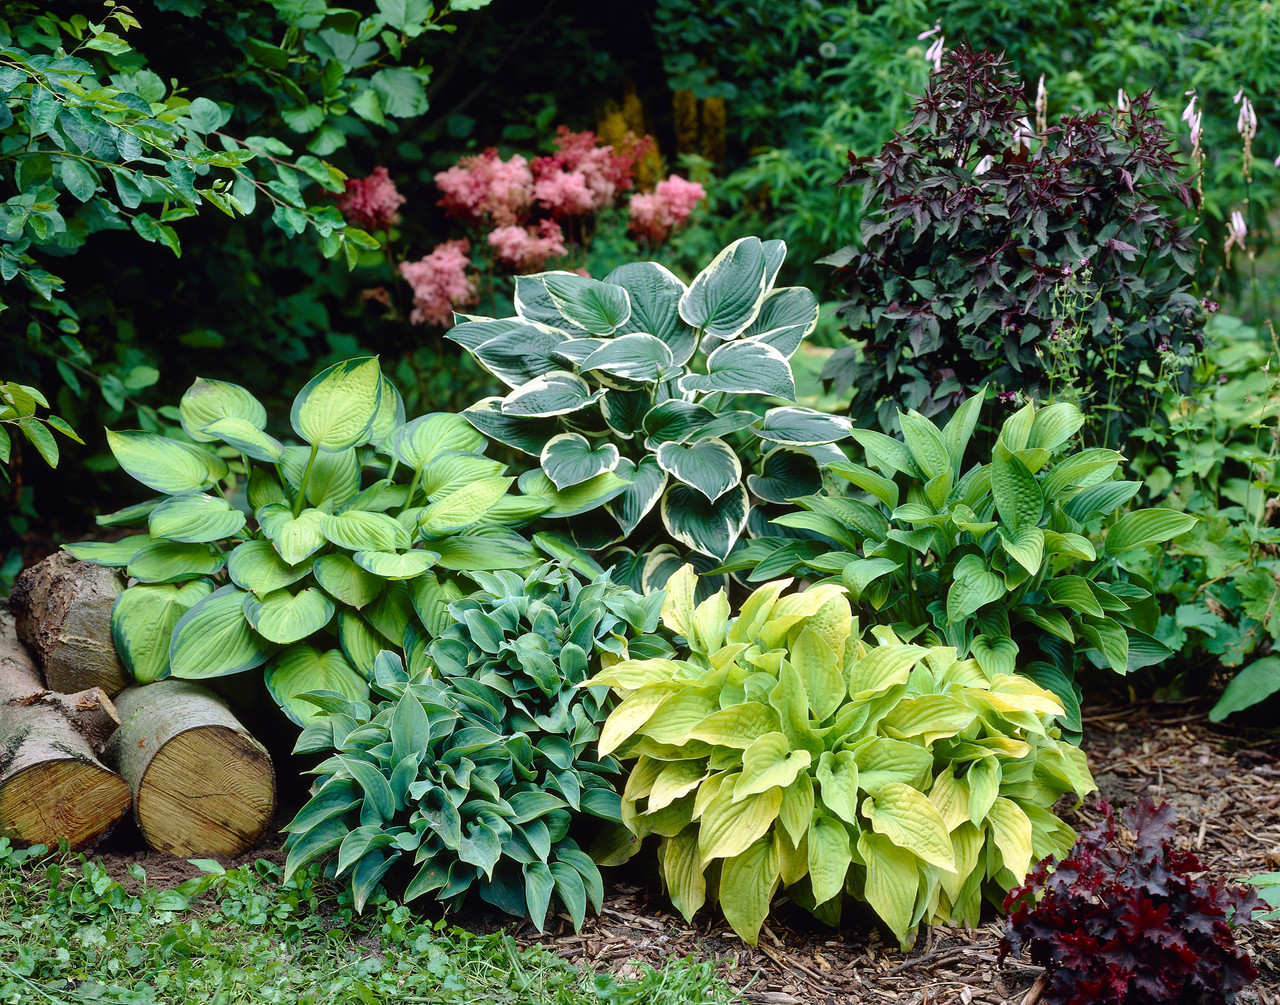
Are you looking for plants to accompany your astilbe garden? Here are some suggestions that will enhance the beauty of your astilbe plants. Hostas, ferns, impatiens, ligularia, trilliums, Japanese iris, and coral bells are plants with similar planting requirements to Astilbe.
Let the Flowers Bloom!
Astilbe flowers are a symbol of patience and dedication to a loved one. This makes it obvious why growing them requires a lot of patience and commitment. However, the journey of raising these beautiful hardy perennials will be learning, joyful, and worth it. Take your first step by collecting the seeds and storing them safely.
We hope this blog can help you nurture your astilbe plant. After all, gardening is not just about the results but about witnessing the seed become a flower. Now is the right time to grow Astilbe from seed and fill your garden with bright colors.
Frequently Answered Questions
Can You Take Cuttings from Astilbe?
Yes, you can take cuttings from the Astilbe plant. Take the parent plant, gently divide the roots into different parts and transplant them in a new place.
What Is the Longest Blooming Astilbe?
The longest blooming astilbes are japonica and chinensis. The former blooms from late spring to early summer, and the latter blooms from mid to late summer.
What Is the Maximum Height of Astilbe?
The maximum height of Astilbe can go up to 24 to 30 inches.


